You need Git, and that is it. No Docker, no Node, and you do not have to install Python yourself. The setup script installs uv if it is missing, and uv downloads Python 3.13 for this project.
1. Run the setup script
Open a terminal in your project folder (C:\code\myapp).
Windows (PowerShell):
powershell -ExecutionPolicy Bypass -File scripts/setup.ps1macOS / Linux:
bash scripts/setup.shIt installs the Python packages, creates .env with a fresh secret key, downloads the Tailwind CSS tool once, creates the database (SQLite, a single file), and installs the git hooks. It ends with Done. Start the app with: uv run poe dev.
How long it took for us: 237 seconds on Windows with nothing cached (it installs about 470 MB the first time), 98 seconds on a second run, and 243 seconds on a bare Linux machine where uv and Python were installed from nothing.
Red text on Windows?
Windows PowerShell 5.1 can print a red NativeCommandError while packages install, because uv writes its progress to the error stream. If the script ends with Done, everything worked.
2. Start the app
uv run poe devThis starts the web server and the CSS watcher. Open http://localhost:8000 in your browser. The first page answered 15 seconds after the command in our test.
To stop it, press Ctrl+C in the terminal. Next time, the same command starts it again, and it applies new database migrations first.
3. Sign up and confirm your email
- Open
http://localhost:8000/account/signup/, enter an email and a password. - The app asks you to verify your email:
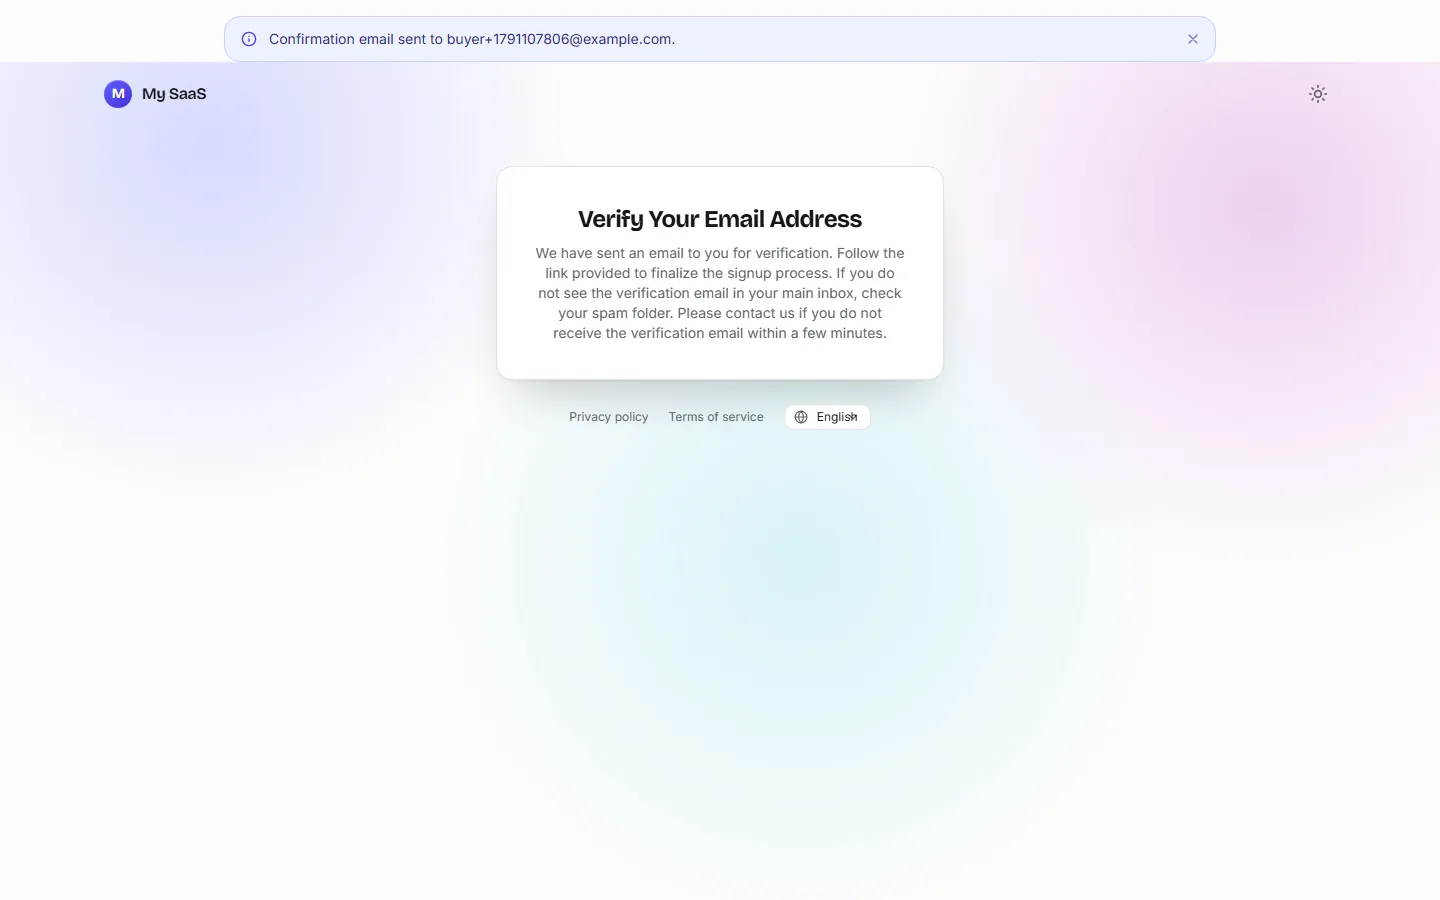
- On your computer, emails are printed in the terminal instead of being sent. Find the message in the terminal running
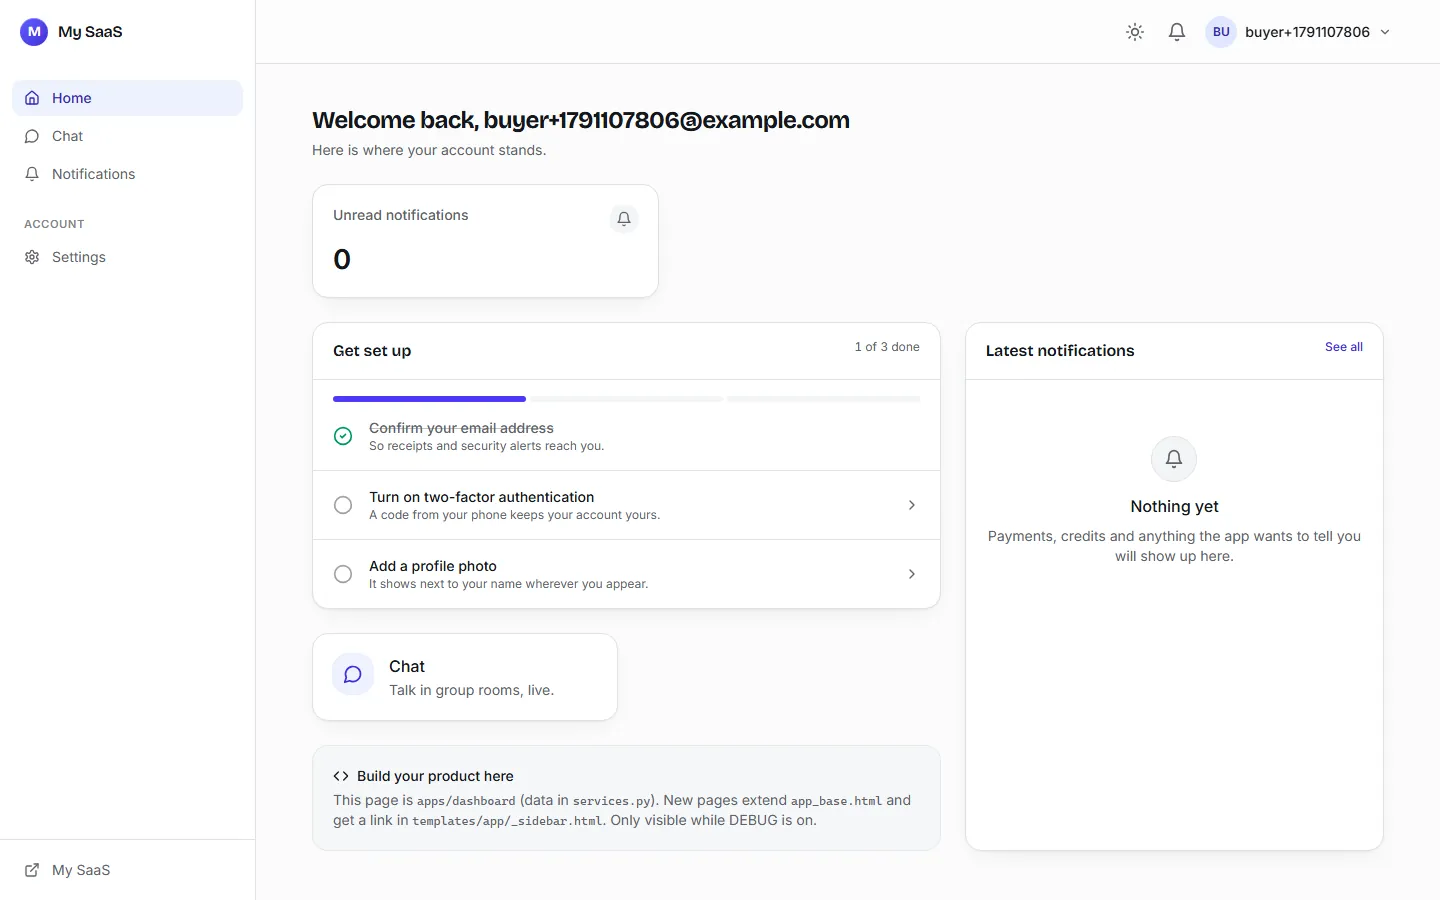
uv run poe dev, copy the link that contains/account/confirm-email/, and open it. - Confirm, and you land in the app:
4. Open the admin panel
The panel is for you, the owner. Create your owner account from .env:
- Open
.envin the project folder and fill inSUPERUSER_EMAILandSUPERUSER_PASSWORD. - Run
uv run poe bootstrap. - Sign in with that email and password, then open
http://localhost:8000/panel/.
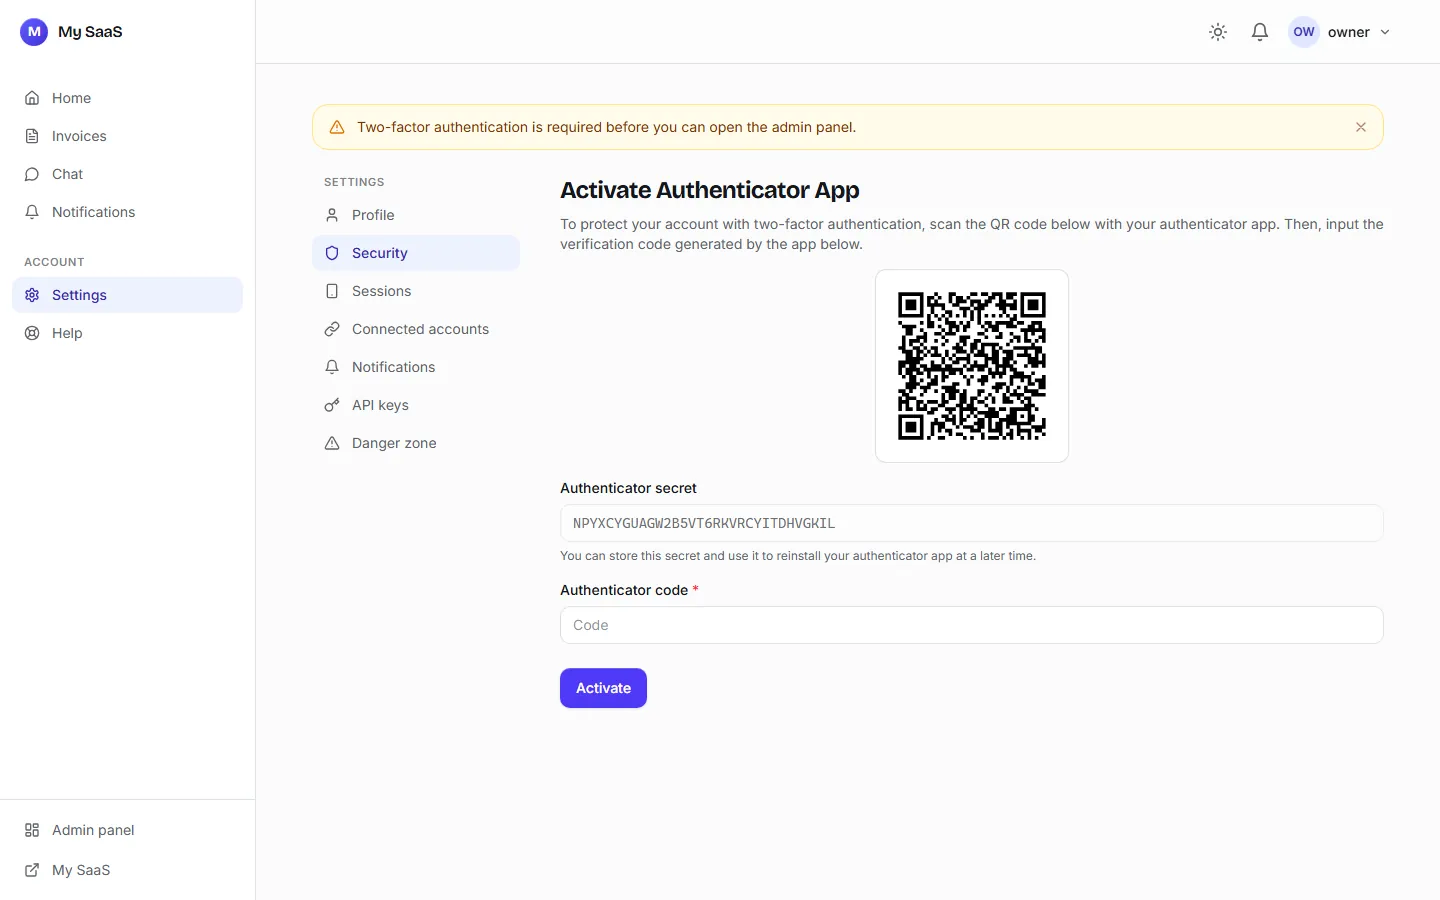
The panel asks you to set up two-factor before it opens. Scan the code with an authenticator app (Google Authenticator, 1Password, Authy) and save the recovery codes.
5. Look around
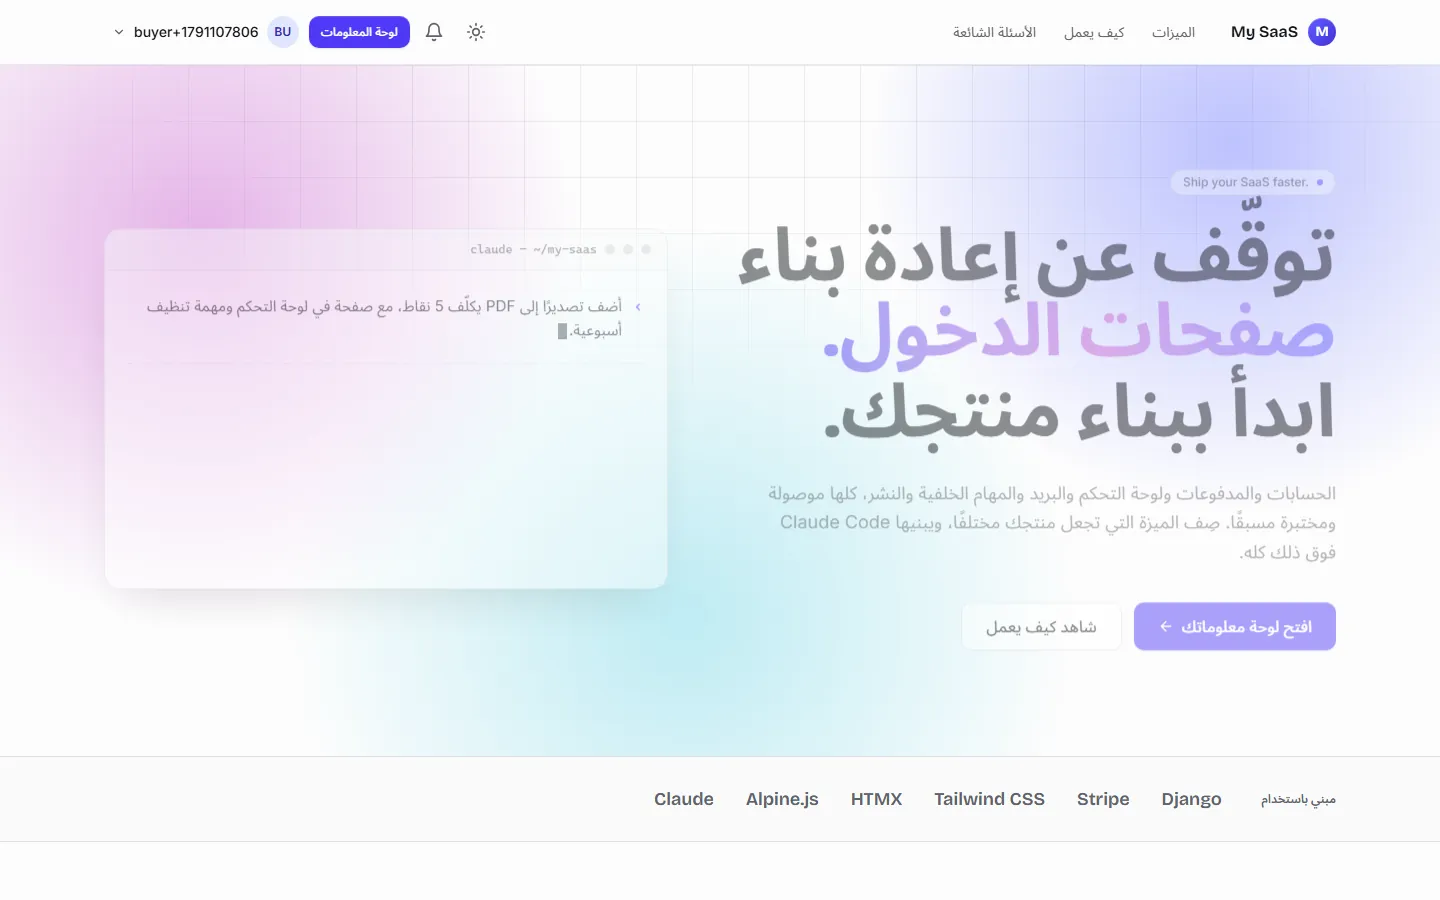
http://localhost:8000/ar/is the Arabic version, right to left:
http://localhost:8000/styleguide/shows the UI components (45 of them ship intemplates/cotton/).http://localhost:8000/pricing/answers 404, on purpose: nothing is on sale yet. Sell It With Stripe turns it on.
The path is too long?
If the setup script stops with a warning about a long path, move the project to C:\code\myapp and run it again. That is the Windows 260-character limit, explained in Get the Code.
Next: Open It in Claude Code.