By the end of this page the full product is running on your machine: API, MCP server, background worker, Postgres, and Redis. You will not install Python. Docker does everything.
What you need first
- Docker Desktop. Install from docker.com, start it, and wait until its whale icon says it's running.
- The code from Get the Code.
1. Run the stack script
Open a terminal in your code folder (in Windows Explorer: right click the folder → "Open in Terminal").
Windows (PowerShell):
.\scripts\stack-up.ps1macOS / Linux:
./scripts/stack-up.shThe script creates your .env config file, generates real secret keys, builds the Docker images, starts 5 services, and waits until the app answers. First run builds everything and takes a few minutes. After that it's about a minute: our measured fresh-clone run was 58 seconds from clone to healthy.
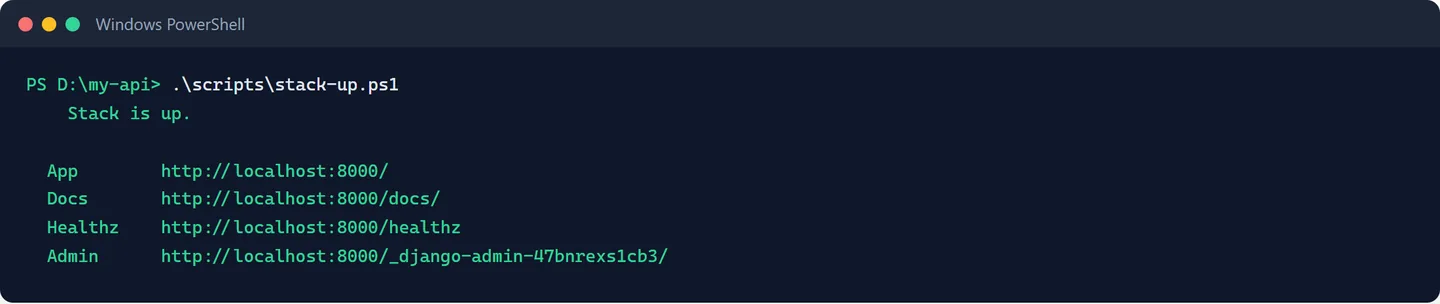
When it finishes you get this, and the four addresses are the whole product:
Windows says 'running scripts is disabled'?
Run this once in the same terminal, then retry: Set-ExecutionPolicy -Scope Process -ExecutionPolicy Bypass
Port already taken?
If the script fails with Bind for 0.0.0.0:8000 failed: port is already allocated, something else on your machine uses port 8000. Open .env, add a line WEB_PORT=8010, and run the script again. Everything adapts automatically. (docker ps shows you which container holds a port when nothing else seems to.)
2. Look around
When the script prints its green summary:
- The app:
http://localhost:8000/(your port may differ if you setWEB_PORT) - The docs site:
http://localhost:8000/docs/: every endpoint, with a live Try-it panel - The admin console: the script prints your private admin URL (it's randomized on purpose; it's also in
.envunderDJANGO_ADMIN_URL_PATH)
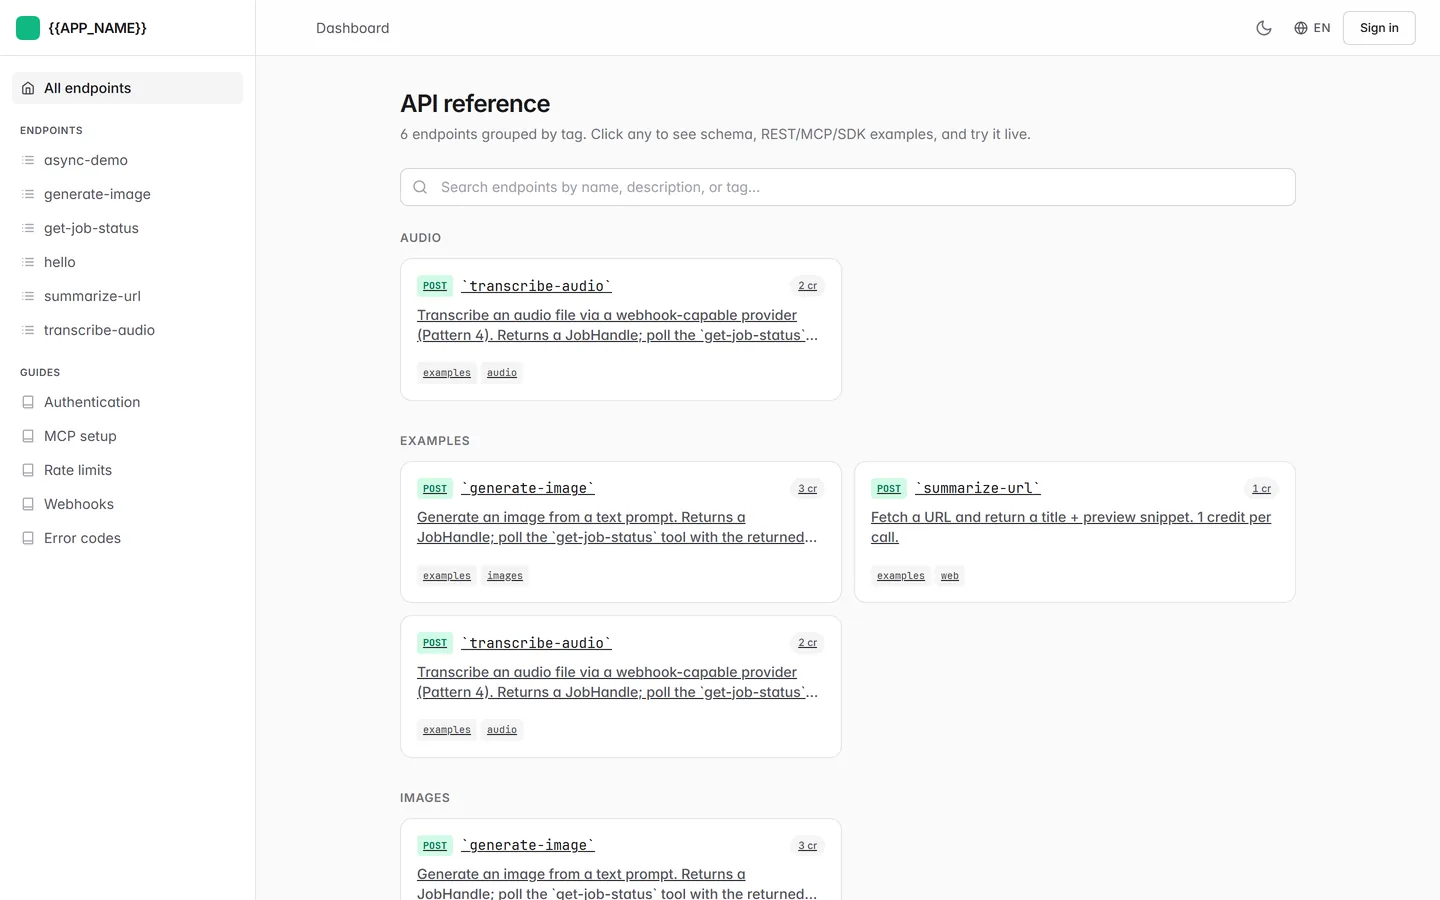
The site says {{APP_NAME}} everywhere. That placeholder is intentional. Renaming it is a 2-minute step in Make It Yours.
3. Create demo data
docker compose exec web python manage.py seed_demoThis creates two plans, a demo user, sample logs, and prints a demo API key exactly once. Copy that mcpsk_... key somewhere: the next pages use it.
4. Make your first API call
Windows (PowerShell):
Invoke-RestMethod -Uri http://127.0.0.1:8000/api/v1/hello -Method Post -ContentType 'application/json' -Body '{"name":"world"}'macOS / Linux:
curl -X POST http://127.0.0.1:8000/api/v1/hello -H "Content-Type: application/json" -d '{"name":"world"}'Both answer:
{"greeting": "Hi, world"}That response travelled through the real production plumbing: request logging, rate limiting, the works.
Why 127.0.0.1 and not localhost?
In browsers, use either. In terminal commands we always write 127.0.0.1 because on some Windows machines localhost resolves in a way that hangs command-line tools. Same address, fewer surprises.
5. Log in (no passwords here)
The product uses magic-link login. On the login page, enter [email protected]. In local mode the email isn't sent, it's printed to the app's log:
docker compose logs web --tail 50Find the line with the magic link, paste it into your browser, and you're in the demo user's dashboard.
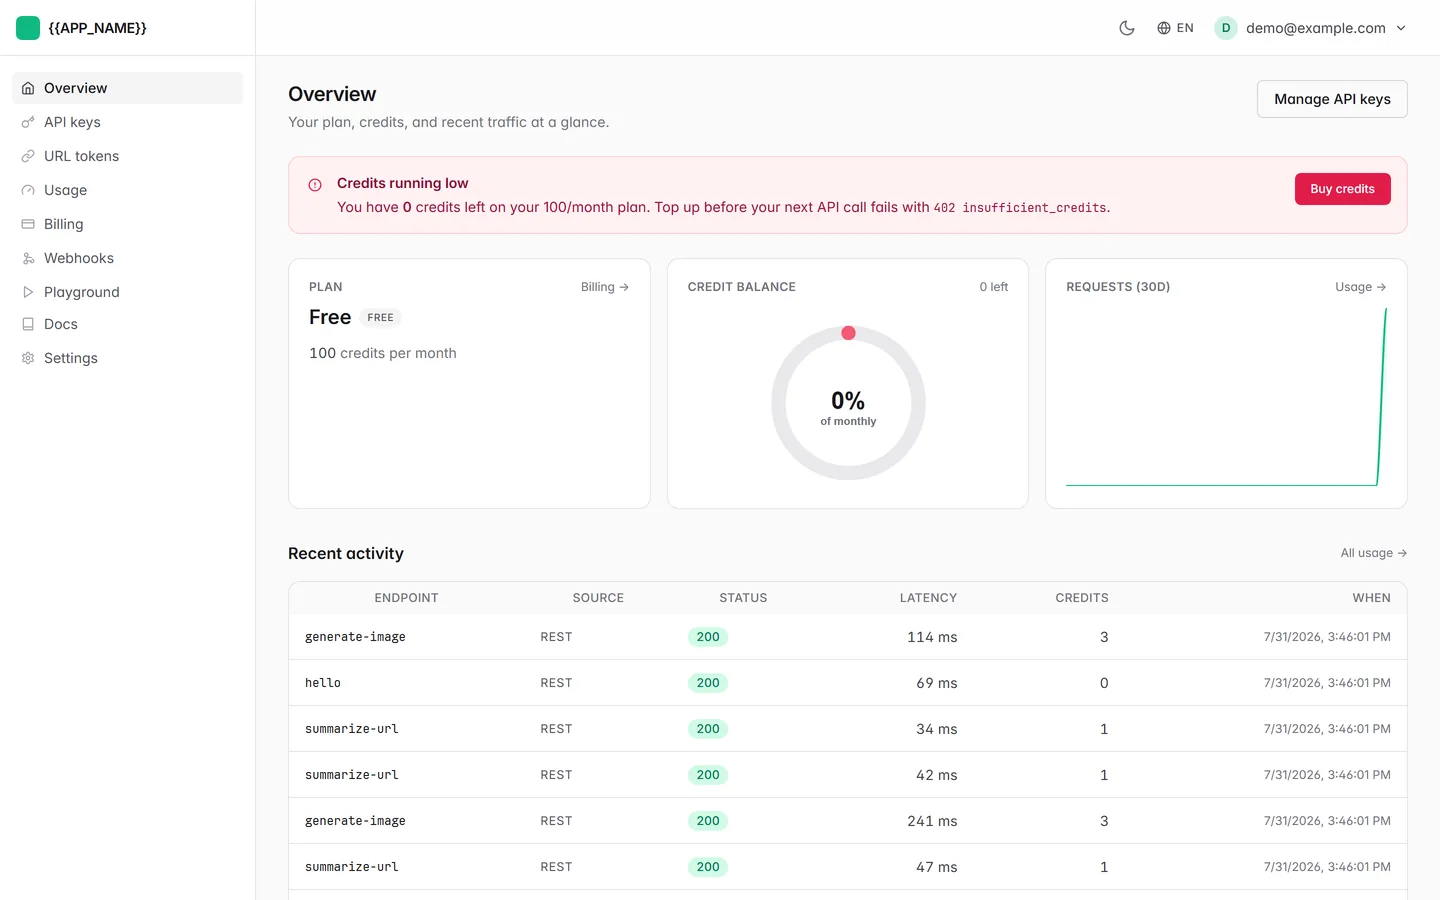
The red 'credits running low' banner is expected
seed_demo gives the demo user sample traffic and a zero balance, so the low-credit warning is showing you a working feature rather than a broken setup. You grant yourself credits in Charge Credits For It.
Stopping and restarting
.\scripts\stack-up.ps1 -Down     # stop (keeps your data)
.\scripts\stack-up.ps1          # start again
.\scripts\stack-up.ps1 -Nuke     # stop AND wipe the database
Next: Open It in Claude Code.