We deployed this exact walkthrough to a fresh $6 DigitalOcean droplet while writing it, and every command below is from that run. At the end your product is at https://your-domain, callable by Claude.ai, with real TLS.
If you prefer one-click platforms, the repo ships ready configs for Railway, Fly.io, and Render (railway.toml, fly.toml, render.yaml) and docs/DEPLOYMENT.md covers them. Below is the VPS path: cheapest, and you own everything.
What you need
- A small VPS (2 GB RAM is plenty to start). Ubuntu 24.04.
- A domain (or subdomain) you control.
1. Point your domain at the server
At your DNS provider, create an A record: api.yourdomain.com → your server's IP. TTL 60. Do this first; it propagates while you work.
2. Install Docker on the server
SSH in as root and run:
curl -fsSL https://get.docker.com | sh3. Get your code onto the server
git clone https://github.com/YOUR-USER/your-product.git /opt/app
cd /opt/app
(Private repo? Create a fine-grained personal access token on GitHub with read access to just this repo, and use it as the password when git asks.)
4. Create the production .env
cp .env.example .envOpen .env (nano .env) and set these, generating real secrets:
SECRET_KEY=            # paste output of: openssl rand -base64 64 | tr '+/' '-_' | tr -d '=\n'
FIELD_ENCRYPTION_KEY=  # paste output of: openssl rand 32 | base64 | tr '+/' '-_' | tr -d '\n'
DJANGO_ADMIN_URL_PATH=_django-admin-pick-something-random/
ALLOWED_HOSTS=api.yourdomain.com
OAUTH_ISSUER=https://api.yourdomain.com
MCP_LOOPBACK_SECRET=   # paste output of: openssl rand -base64 32 | tr '+/' '-_' | tr -d '=\n'
DJANGO_SETTINGS_MODULE=config.settings.prod
The boilerplate refuses to boot in production with placeholder secrets, a default admin path, or a localhost OAuth issuer. That's a feature: it's protecting you from the classic first-deploy mistakes.
5. Keep the app port private
One line in docker-compose.yml: change "${WEB_PORT:-8000}:8000" to "127.0.0.1:${WEB_PORT:-8000}:8000". Only Caddy (next step) will talk to the app; the outside world only ever sees HTTPS.
6. Start the stack
docker compose up -d --buildThe stack migrates the database itself on boot. Give the first build a few minutes on a small server.
7. HTTPS in two lines
mkdir -p /opt/caddy
printf 'api.yourdomain.com {\n    reverse_proxy 127.0.0.1:8000\n}\n' > /opt/caddy/Caddyfile
docker run -d --name caddy --restart unless-stopped --network host \
  -v /opt/caddy/Caddyfile:/etc/caddy/Caddyfile:ro \
  -v caddy_data:/data -v caddy_config:/config caddy:2
Caddy fetches and renews the Let's Encrypt certificate automatically. First issuance takes under a minute once DNS has propagated.
8. Prove it works
From your OWN computer (not the server):
curl https://api.yourdomain.com/healthz
curl -X POST https://api.yourdomain.com/api/v1/hello -H "Content-Type: application/json" -d '{"name":"internet"}'
Our run answered {"greeting": "Hi, internet"} over real TLS. Then open https://api.yourdomain.com/docs/ in a browser, and seed your first data (docker compose exec web python manage.py seed_demo).
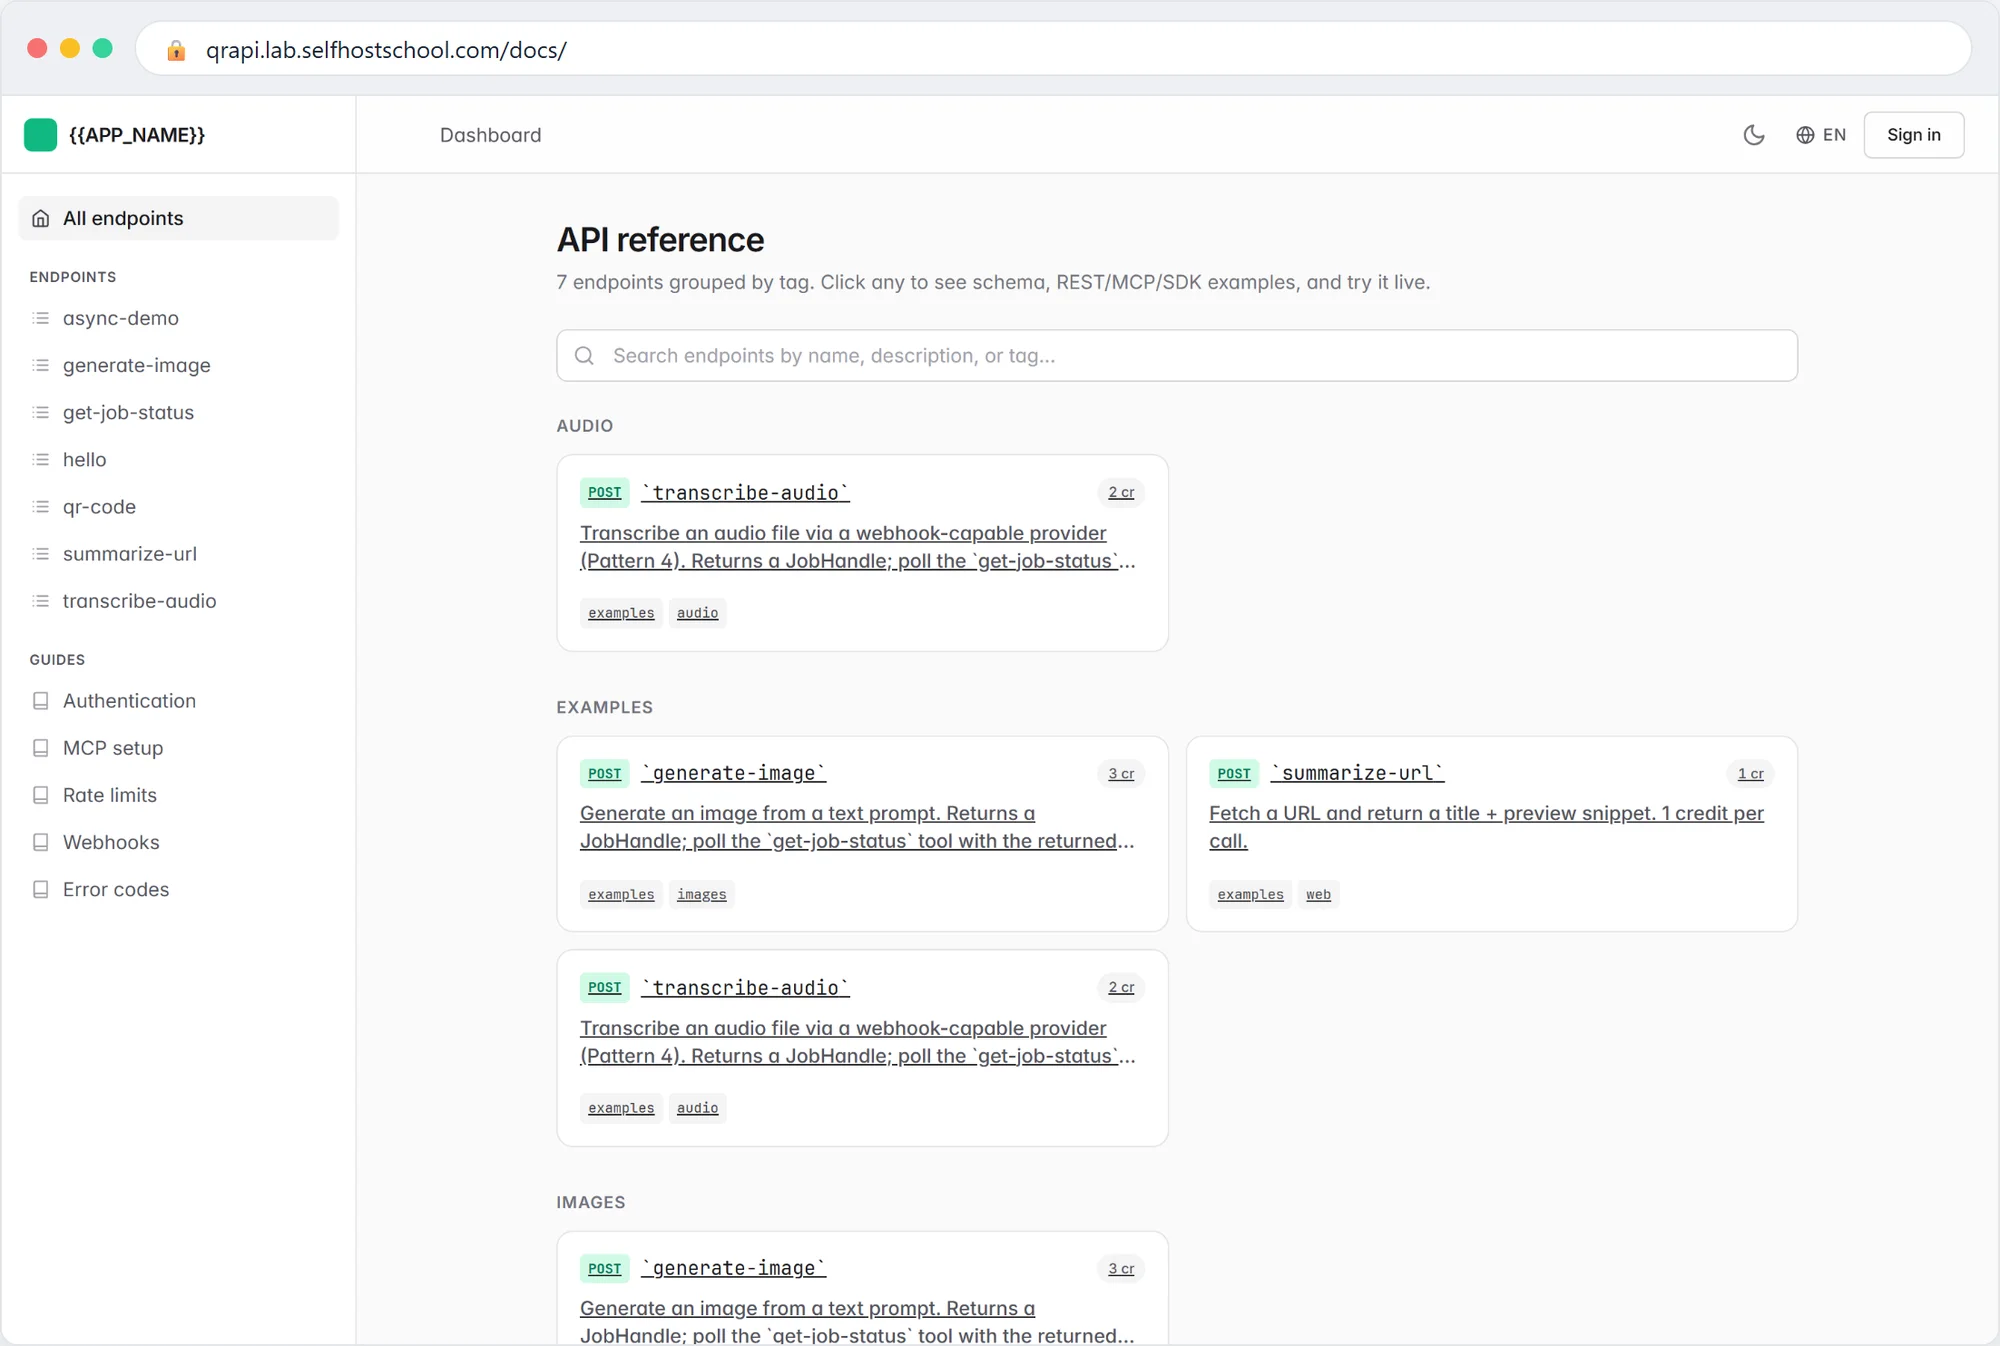
Your MCP address is now https://api.yourdomain.com/mcp/: paste it into Claude.ai's connector settings and the OAuth connect flow works, because OAUTH_ISSUER finally points at a real https origin.
Back up before you have users
bin/backup-postgres.sh plus a cron line = daily dumps, 30-day rotation. It's 5 minutes now or a very bad day later. docs/DEPLOYMENT.md §Backup has the exact crontab.
Scaling later
One box like this carries a real product a long way (ToolerBox started exactly like this). When you need more, docs/SCALING.md and docs/DEPLOYMENT.md cover worker sizing, PgBouncer, and read replicas.
Last stop: Where to Go Next.