By the end of this page a native window is open on your machine and it hot-reloads as you edit. No Electron experience needed.
1. Install dependencies
From inside the folder you cloned:
npm installMeasured: 25 seconds with a warm npm cache. Your first ever install will take a few minutes longer because Electron downloads its own runtime, which is a large file.
If npm refuses with EBADENGINE
Your Node version is too old. This repo needs Node 20.19+ or 22.12+ and refuses on purpose, because the alternative is a confusing failure three commands later. Upgrade Node rather than forcing the install.
2. Run the one-time setup
npm run setupMeasured: under a second. It installs the git pre-commit hook, copies .env.example to .env, and makes sure a placeholder app icon exists. It prints what it did, and it is safe to run again.
3. Start the app
npm run devMeasured: the window appears 2.3 seconds later. You get a sidebar on the left, the Home screen in the middle, and a title bar the app draws itself.
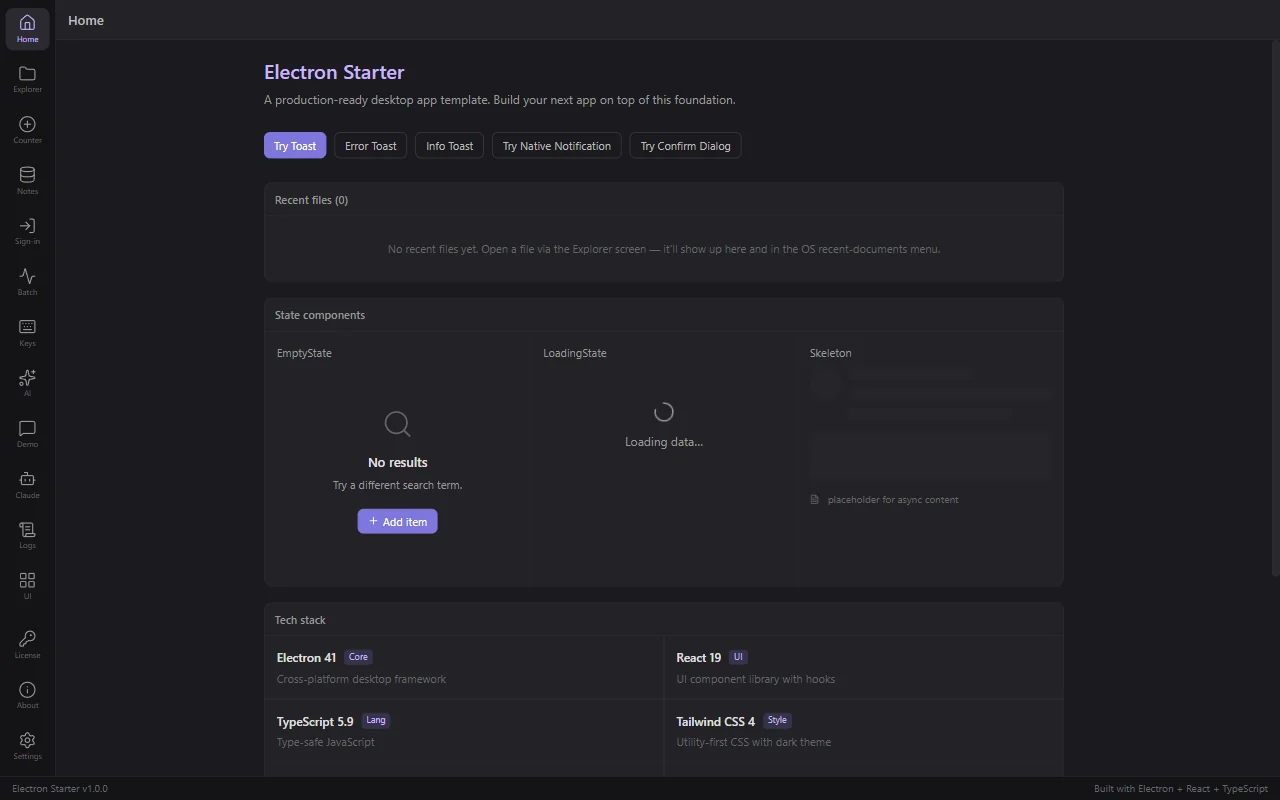
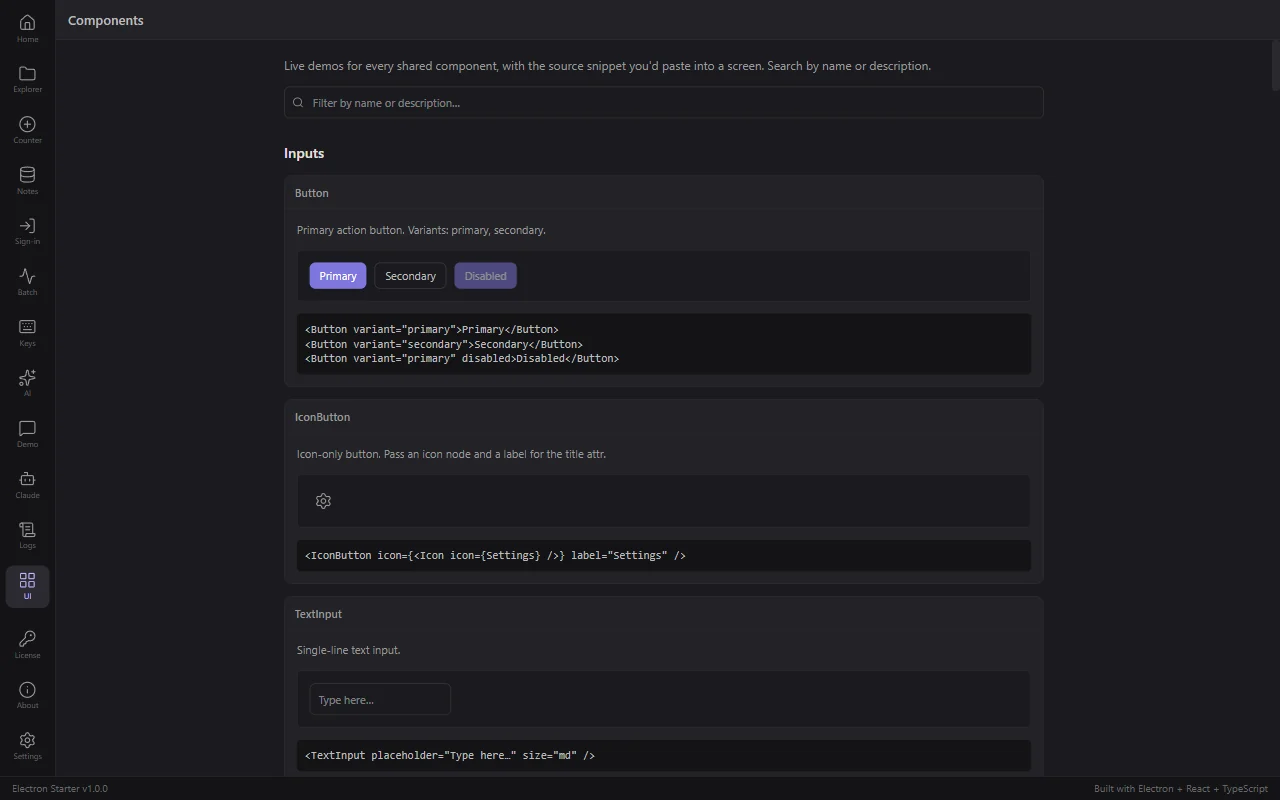
Click through the sidebar. Every one of the 15 screens works: Notes writes to a real SQLite database, Explorer reads real files, Logs shows real log lines, UI shows all 45 components.
While npm run dev is running, editing a React file updates the window in under a second, and editing main-process code restarts the app automatically.
When something goes wrong
The window never appears, and there is no error.
You are almost certainly in the VS Code integrated terminal. VS Code sets an environment variable called ELECTRON_RUN_AS_NODE=1, and any Electron program that inherits it runs as a plain script with no window at all. It exits successfully, which is why there is no error to find.
npm run dev already strips that variable for you, so this bites when you launch a built app directly. If you hit it:
$env:ELECTRON_RUN_AS_NODE = $nullOn macOS or Linux:
unset ELECTRON_RUN_AS_NODEThis one is genuinely hard to diagnose
It cost an hour during the writing of these docs. Every symptom points at your app being broken: no window, no log line, exit code 0. Check the variable first.
The app opens but shows an old version of a screen.
The renderer reloads on save; the main process restarts. If neither seems to happen, stop npm run dev with Ctrl+C and start it again.
Something else has the app's single-instance lock.
The app allows one copy of itself at a time. If a previous run is still alive, a new launch quietly hands over to it and exits. Close the other window, or end any leftover process, and try again.
Check that the tests run
Not required, but it confirms your toolchain is healthy:
npm testExpect 78 passed across 10 files in under 4 seconds.
I just ran npm run dev on an Electron + React + TypeScript project and the window opened. Walk me through what npm run dev actually starts: the main process, the preload script, and the renderer, and which one my React code runs in.
Next: Open It in Claude Code.