
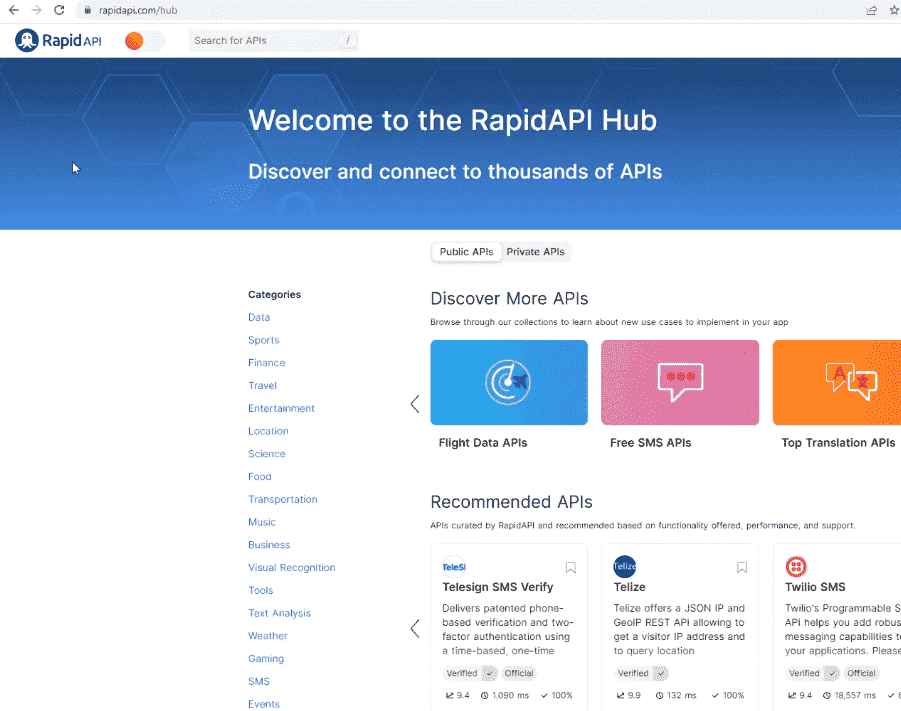
I was surfing the internet looking for AI tools and methods to make money online when I stumbled upon an Image Background Removal service called Remove.Bg.
It works great. But I was shocked by the pricing. It charges $0.2-$1.99 per Image!?

So, I decided to take the challenge and reverse engineer this website to build my own Free Image Background Remover without relying on any APIs or Third Parties. So, I searched for a few days and found a great Python project on GitHub called U2Net.
A Big Shout-out and Thanks to the authors of this project!
I tried my best to make the Python script I built as simple as possible so that even newbies could use and run it.
I also created a Short Video showing The Script & How to use it, and I pointed out three methods and secrets that may help you build an online income stream with the help of this script. Here is the video:
You can make money using this tool by turning it into an online tool that people pay to use based on a monthly subscription. Or, you can turn the script into an API, publish it on RapidAPI, and sell it for a monthly recurring income as I do with my APIs.
Remove Background from Image with Python
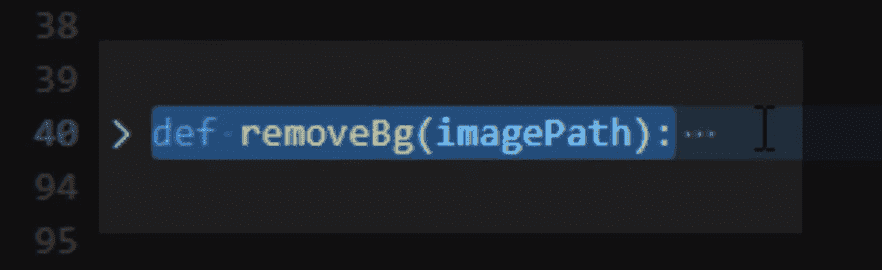
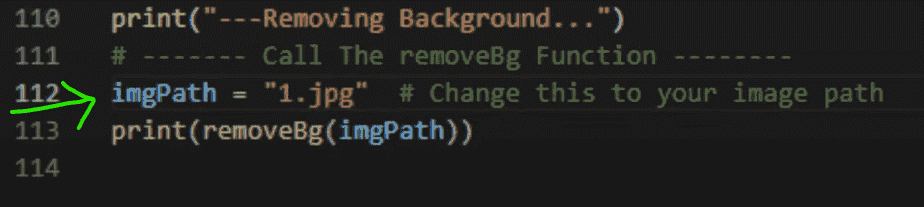
The main part of our script is this magic method called removeBg(). We’ll pass the Image Path as an argument.
Two methods are very important in this Python Script. One saves the output, and the other will create the mask of the image, the image without background, and returns it.
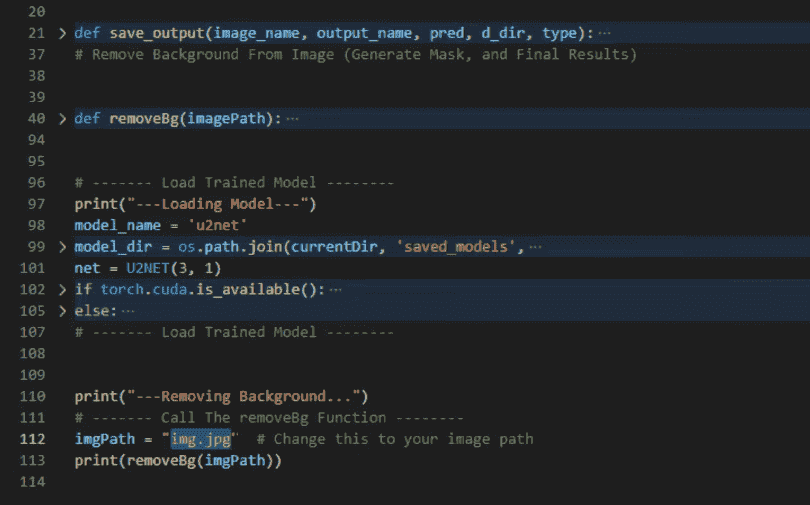
In the first part, we load the model. (I will also give you the trained model so you can use it directly.) Then, we call the removebg() function to remove the background image.
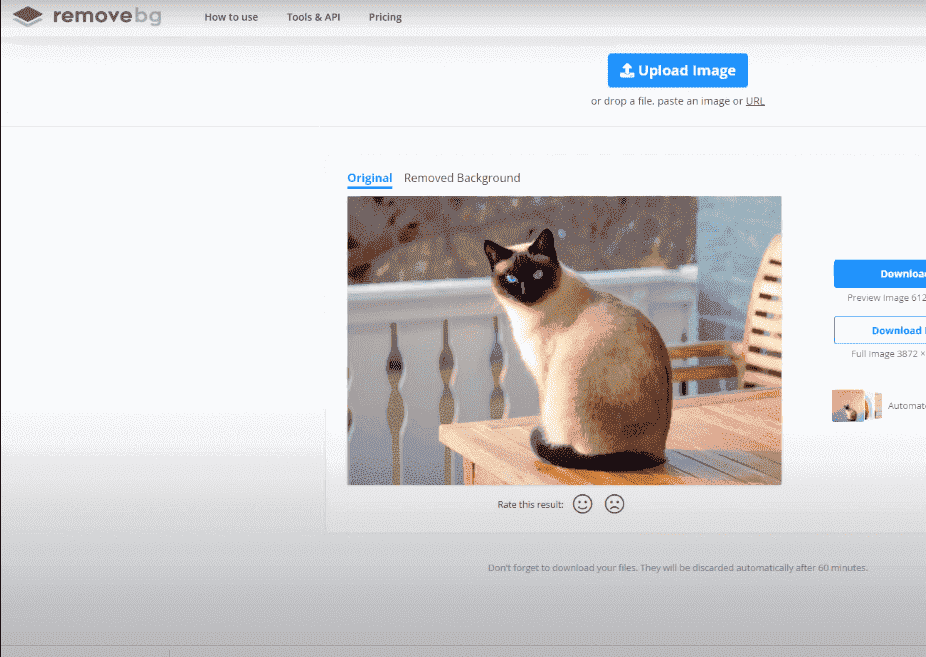
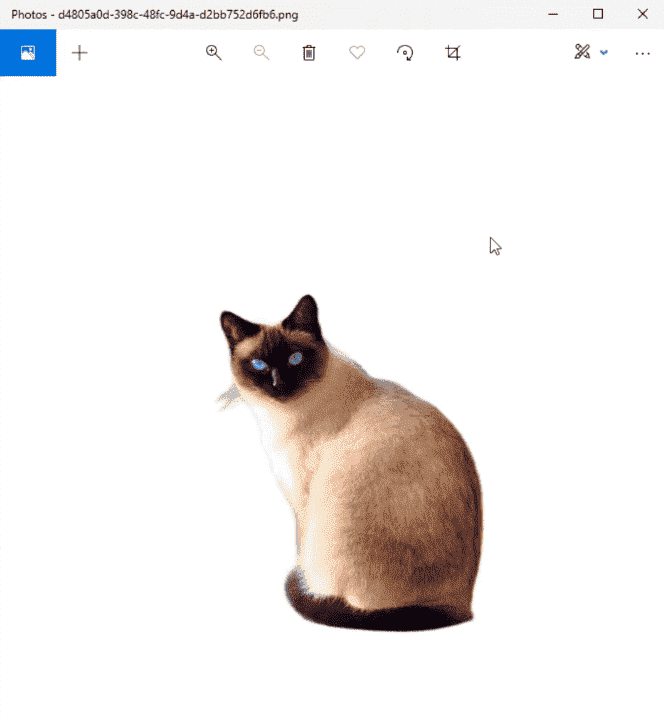
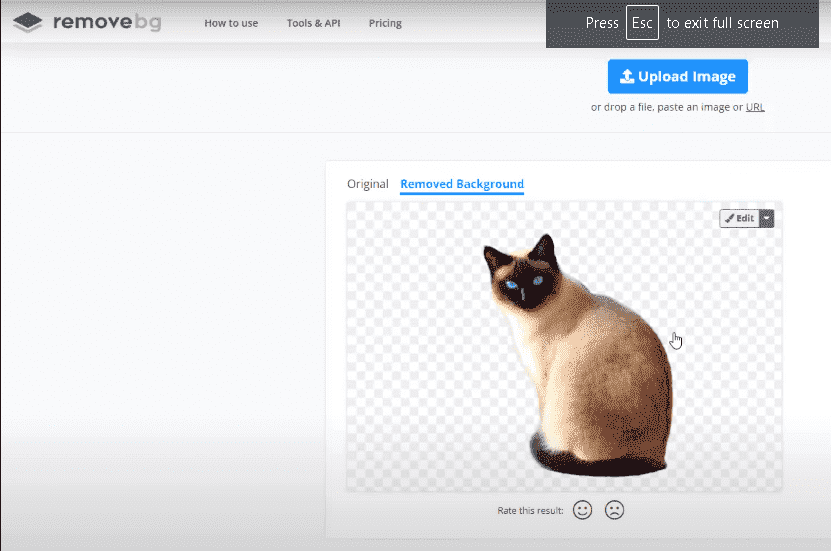
Let’s see how it works. I will reopen Remove.bg and get a sample image from their website so we can compare the results.
I will save this cat image on my desktop.
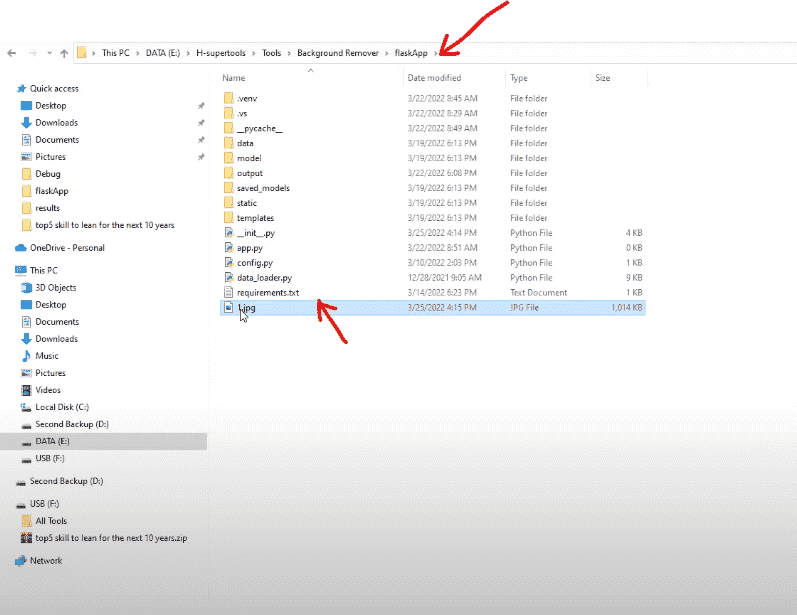
I will copy the name, open the script again, and paste the image path here:
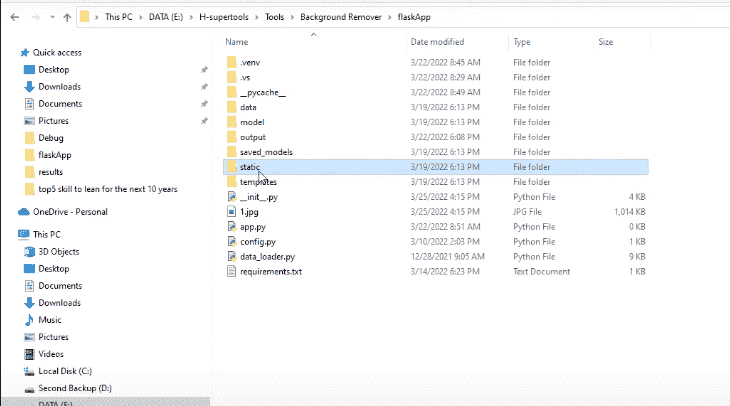
Now, run the script, and to see the results, go to your Python Project Folder.
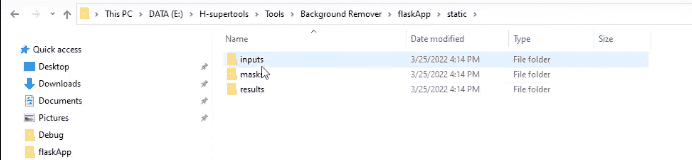
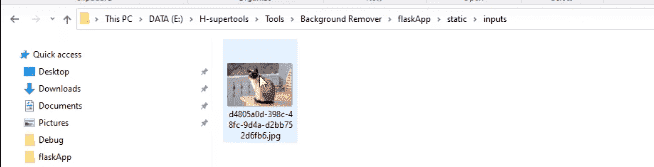
Find a folder named ‘static’ and go to inputs in this folder.
So, this is the input (this is the main image.)
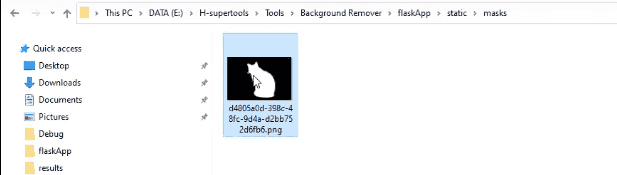
The Masks folder will have a mask of the same image.

And finally, this is the result. It’s Great!

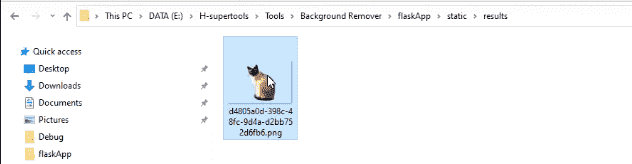
Now let’s go to Remove.bg. The result here is almost the same!
Source Code
Also, here is some help with the file structure if you download the Full Project Folder:
When you open the Downloads folder. You’ll find this inside:
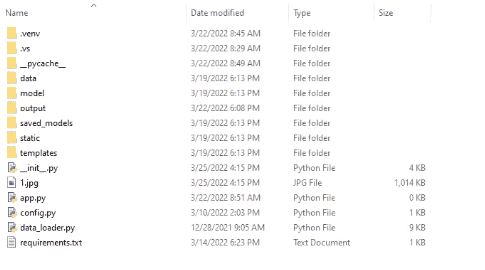
Saved models

U2NET

And here is the trained model so you can use it directly.

And we have the script file here.

The inputs, masks, and results are in the static folder. You can also find them here. It’s super easy to use.
You can use this requirements text file directly to import and install all the requirements with the pip command.
If you have any questions, please share them in the comments below.

sir make a detaild video how to create website using this script
i agree
I wish to learn how to use this with my website just like remove.ai is, have you made a video on this? I love how you explained in the first video Hasan
Thanks, not yet. I will try my best
sir your script is so good and very useful for beginners like me. so I want to add it as a tool to my website how can I do that could help with that?
thank you very much, sir
I will explain this soon
Hasan bro make a detaild video how to create website using this script
I will try my best
I love you Hassan.
Your vids/tuts are amazingly well balanced.
Keep up the amazing work.
(please do more of your dry dev humor to.
like the one “Now we are getting dangerous”)
Epic!
Thank you 🙂
I tried to learn to program on Coursera but stopped along the way.
After following your channel on Ai for some time now I am beginning to develop an interest in Python and want to learn with the help of Ai, but I don’t know how to start.
I need your advice and direction on how to start.
Thank you
We will soon have a python course. stay tuned 🙂
Thank you very much for sharing your knowledge. Your content is really of very high value and not everyone shares knowledge
Thanks 🙂
Awesome sir great work.
Good work best of luck