How to Build Quizzes on WordPress Without Plugins (Step-by-Step Guide)

Today, I’ll show you exactly how to build two powerful quizzes, with all the code provided. Like this:
Personality Test
And the best part? All code is ready for you. Just copy, test, and enjoy!
Why Choose to Build a Quiz?
I picked quizzes for this tutorial simply because they’re straightforward to understand and implement. The exact core principles of it would apply to any tool you’re trying to build, whether an SEO analyzer, Email Checker, or even a content idea generator tool.
This is the exact core method I’ve used to build full-fledged micro SaaS across various industries, including PowerKit, TubeDigest, and PromoterKit.
How It Works: The General Structure
Both tools use the same core workflow:
- The Backend (PHP): stores the quiz data in a json object, so that answers aren’t visible to users. Then, processes the quiz logic securely.
- The Frontend (HTML/CSS/JS): displays the quiz, collects answers, and displays the results.
This structure is the starting point to build any tool you want.
The frontend communicates with the backend to process the user input and display the results. If you want to learn more about how you can build such tools in detail and turn them into a business, check out my WordPress SaaS 2.0 course.
Quiz 1: Standard Grading with Weighted Answers & Images
Let’s start with a classic MCQ quiz:
- All the questions and answers is defined in JSON.
- Supports text or image answers (just use an image URL).
- Grading can be “correct”, “partially correct” (e.g., 50%), or “wrong”—set by weights.
Here’s the backend code we’ll be using:
This backend code contains the logic behind calculating the quiz results, as well as the JSON that contains all the quiz input. So, if you want to change the questions and answers, all you have to do is update the json code with the input of your liking.
Anyway, to add this to our backend, you’ll need to install the Code Snippets plugin and add the snippet to it, in this way:
- Log in to your WordPress admin dashboard
- Go to Plugins > Add New
- Search for “Code Snippets”
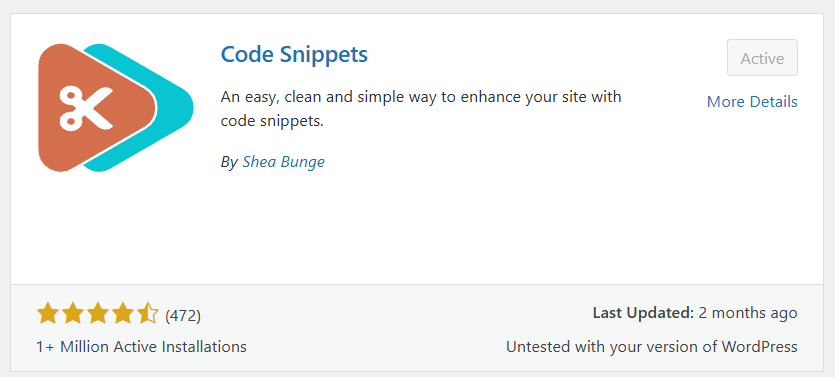
4. Once you find the one above (it should be the first one), click “Install Now” and then “Activate.”
Once installed, you’ll have a new “Snippets” menu item in your WordPress admin, so click on it and add a new snippet:
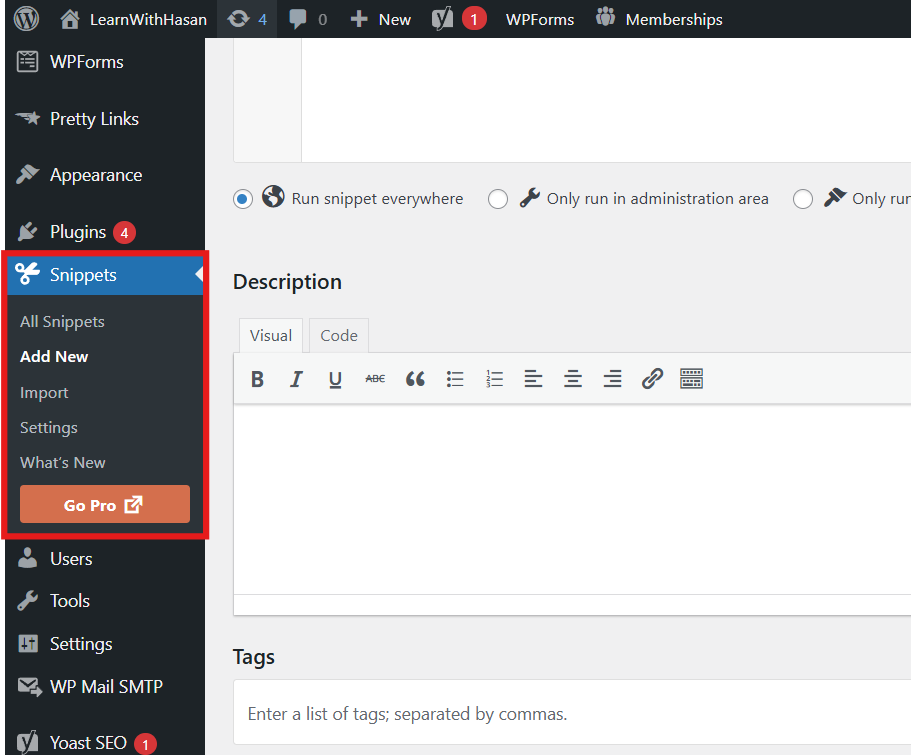
So, paste the above code in it, and don’t forget to activate the snippet:

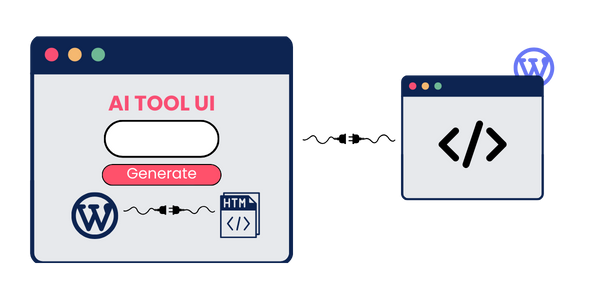
Frontend Code: The User Interface
Add this HTML wherever you want your quiz (use the “Custom HTML” block in WordPress):
Once you add it, you’ll have a full working tool like this one:
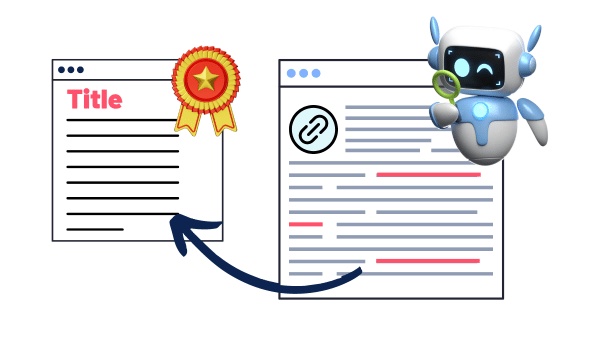
Quiz 1: Interactive Math
As you can see, we have an MCQ quiz with text and image options, where each one has only one correct answer, one partially correct answer, and two incorrect answers. And, once done, you can go over your mistakes.
Now, if you’re like me and you’re always curious about how everything works, and you’d like to learn the details of such codes and how the workflow is in details you can check my WordPress SaaS 2.0 course, where you’ll learn in details how to build even more advanced, production-ready tools.
Improved Security
However, there is still a problem in this code where the weights of each question, i.e., which answers are correct, are returned to the frontend, where they will be visible to users in the HTML code of the page.
Therefore, to ensure the answers are 100% secure, we can only process the weights of the questions in the backend. In this way, the user would have no access to the right answer unless they finish it.
And to do this, we’re gonna update the endpoint that returns the quiz data to the frontend to this:
As you can see now, the quiz data endpoint calls the blog_get_frontend_mcq_quiz_data function, which removes the weights from the data and returns only the questions and answers to the frontend to display them and keep the right answers secure.
But this code wouldn’t work with the old frontend code because the old one accesses weights before, so you’ll also need to update the frontend code to the following to have a fully functional, secure quiz:
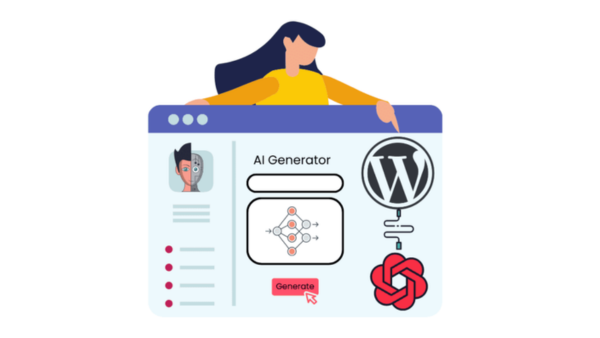
Quiz 2: AI-Powered Personality Test
This quiz type doesn’t have right or wrong answers. Instead, it analyzes your answers using AI for a “personality” result—great for quizzes like “What kind of learner are you?” or “Which programming language fits your style?”
In this case, we’re gonna build a prototype to identify your personality type among the 16 Myers-Briggs Type Indicator Types (ISTP, INTP, ESFJ, ENFP, etc).
Keep in mind that this is just a prototype; if you need to do a real personality test, you’ll need to do your own research to identify the questions needed to get good results.
Anyways, as shown in the structure of quiz 1, here’s the backend code we’ll be using:
To add this to our backend, you’ll need to do the same steps we did above, and don’t forget to activate the code.
Frontend Code: The User Interface (Similar to Above)
Add this HTML wherever you want your quiz (use the “Custom HTML” block in WordPress):
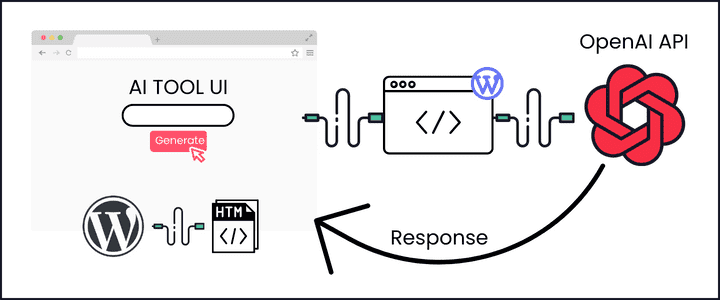
Now, once you add this frontend code as an HTML code block on any page, it will call the backend PHP code, which will call the openai api using a power prompt and the user input, and it will return you results.
Here’s a visual workflow for any visual learners 🙂
And now you have your own personality test, which looks like this.
Start Building Real SaaS-Quality Tools on WordPress
Now you’ve got the code, the workflow, and a working example of both a math-graded and AI-driven Personality quiz—all running on WordPress.
- Hide your business logic (secure, PHP backend)
- Integrate third-party APIs (AI or otherwise)
- Scale up to hundreds of users
- No coding experience? No problem: just copy, test, and enjoy.
Want to build even more advanced, production-ready tools?
That’s exactly what we master in my WordPress SaaS 2.0 course. Join us and start creating tools that solve real problems for real people.
Keep building, keep learning, and keep helping people with your tools! 🚀