
Today we’ll Build a Website uptime Monitor with C# and a SQL Server database.
First, let’s simply understand what we’ll be doing.
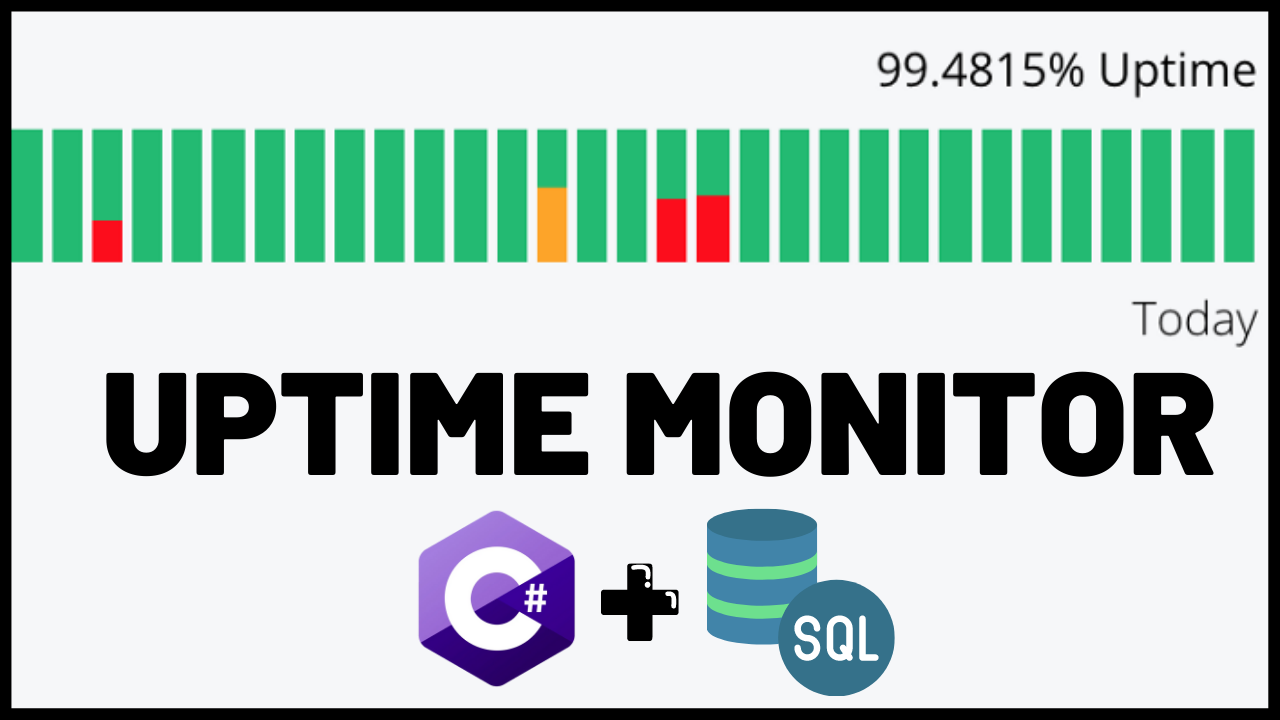
What is an Uptime Monitor?
It simply keeps track of your website's online Availability. It checks whether your website is online or offline and lets you know in time.
Build a Website UpTime Monitor with C#
Before moving on to Coding. I would highly recommend you watch this 7-minute video, to get a gist of the Project, and have a picture in mind. It will be easier for you to work on the project if you have a basic understanding beforehand.
So, as we discussed earlier that a Website up-time monitor is an application that can monitor any website and check if it's online or offline and archive this data to a database (SQL Server in our case)
To get started we have to first code the basic structure of the application.
To follow along with the next step you need to Have Microsoft Visual Studio Installed with C#. If you don’t have it you can check out this tutorial.
Downloading & Setting up (C# + Visual Studio)
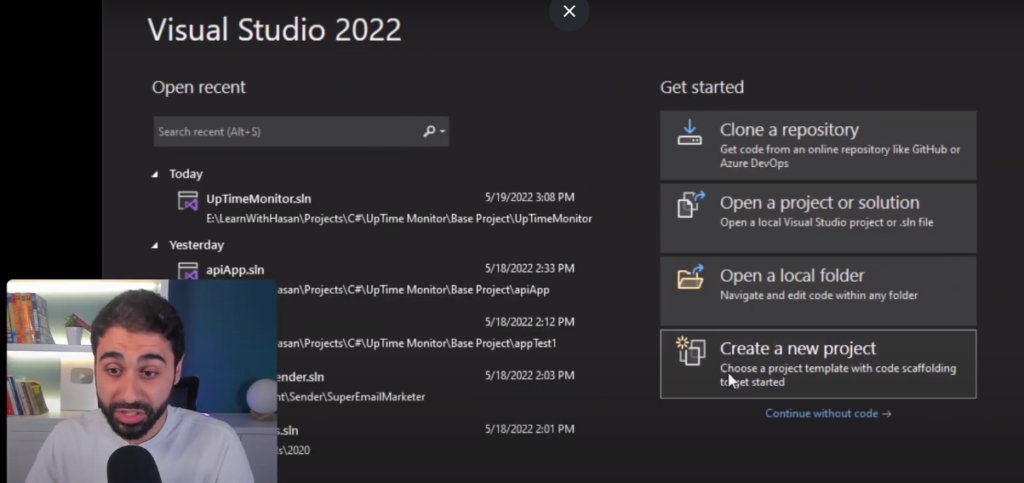
Now simply Open visual studio, and click on “create a new project.”
Now select “console application.”
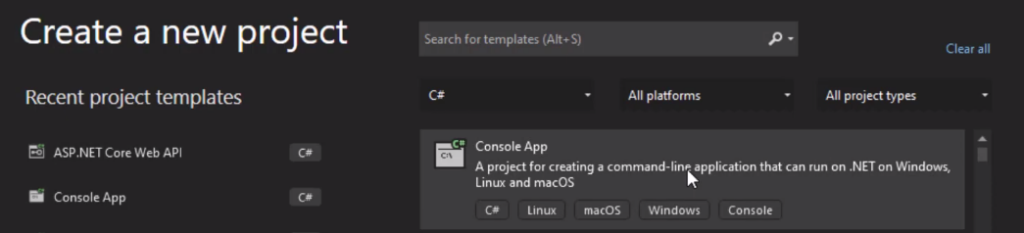
Click on “next.”
And let's call it UptimeMonitor.
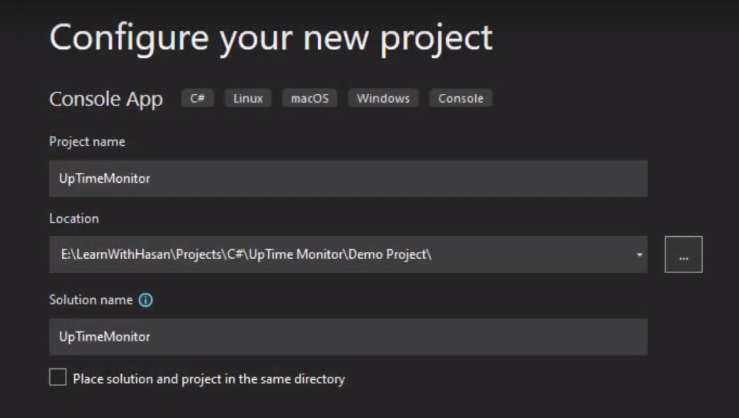
Select the path and click on “next.”
Pick “.NET 6.0” from the list.
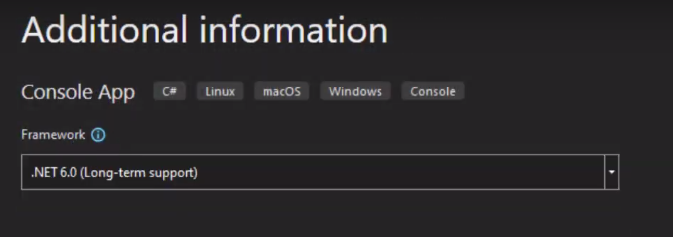
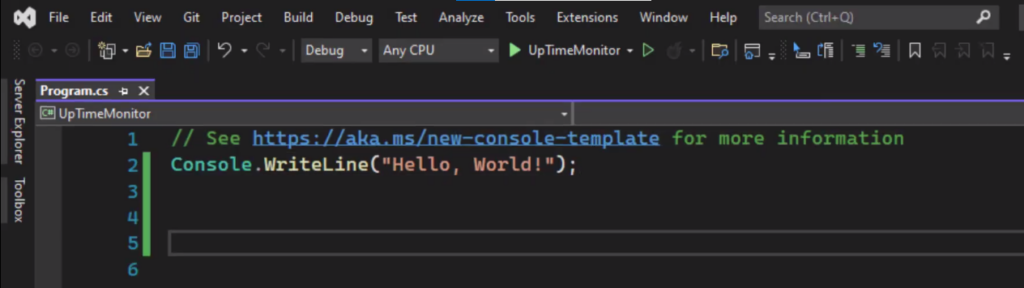
Hit create and Now we are in our Project.
Now I will build a class that manages everything and I will try to make it somehow generic, So, it will be easy for you to get this class and use it in any application you want.
Maybe a web application, maybe a service, maybe an API. Possibilities are endless.
Now “add a class.”
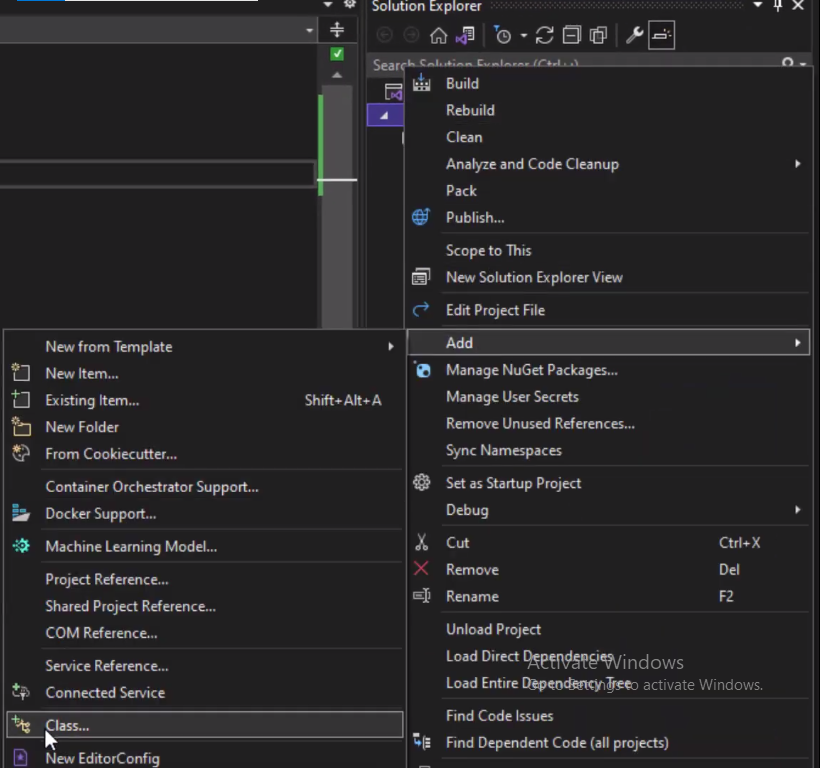
And let's call it uptime monitor.

Before moving on, Remember to change the class type from (internal/private) to public.

So, the first step is to create a function or a method that checks a website. Whether it’s online or offline.
Below is the Method.
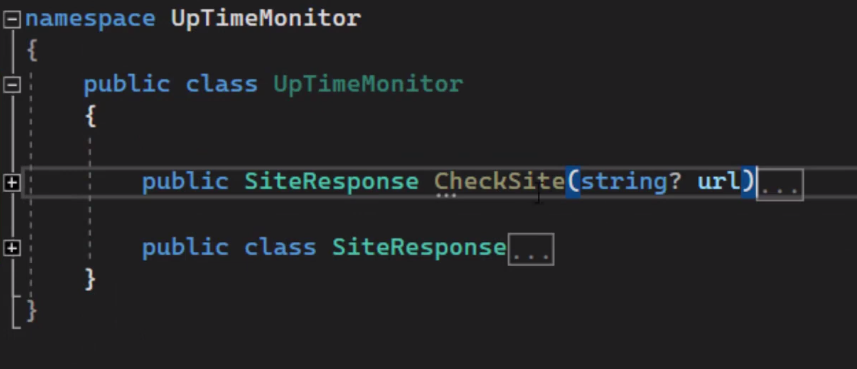
Above is the CheckSite() method/function with a SiteResponse class as return value.
The class holds two properties: status and response time.
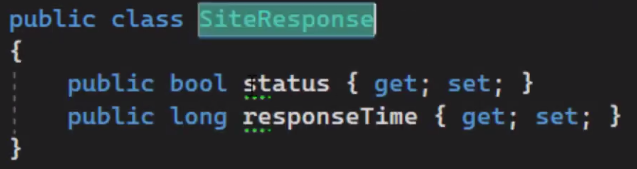
So, when you check a website to see if it's online or offline. We get two properties, the status (if it's online) and the second property is response time (about how much time it took to check.)
So I created this simple class (SiteResponse) and I passed this as the return value of the function.
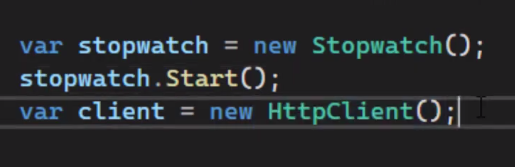
In the CheckSite Method, I created a stopwatch to see how much time the response will take, and a new object for the HTTP client.
Then we have a simple try-catch block.
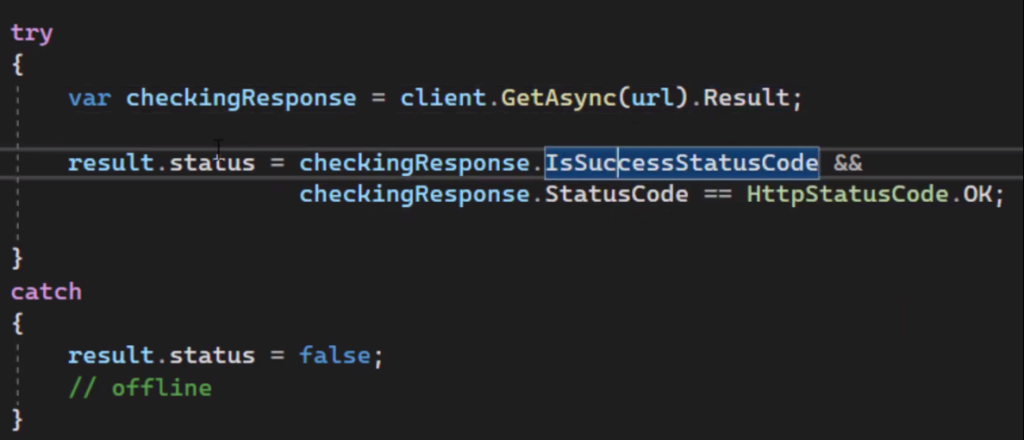
This block will check the website result. If it's okay which means true or false it will set the value to the result.status property.
And if there is an error it means there is something wrong with the connection (the website is unreachable.) So it will say “false.”
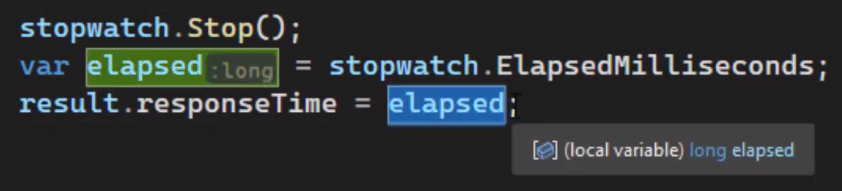
Then stop the stopwatch. And simply assign the elapsed millisecond value to the response time below. That's it.
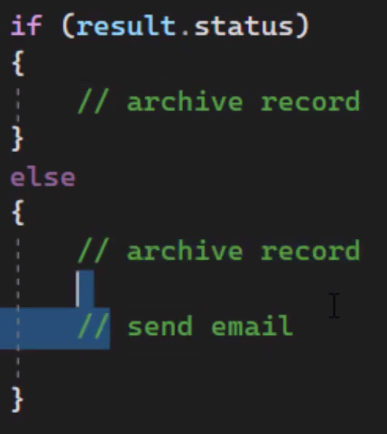
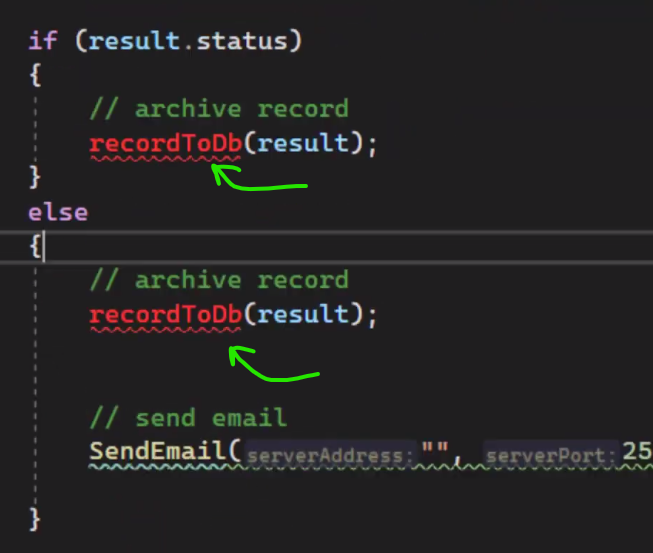
Now if the response is true or the result is true, I will archive the record.
And if it's false, I will archive it again but send an email to notify the user that the website is down and that's it.
Archive records and Send Email Function
Now we need to implement the archive records and the send email functions.
Let's start with the send email method.
First, we are going to add some libraries.
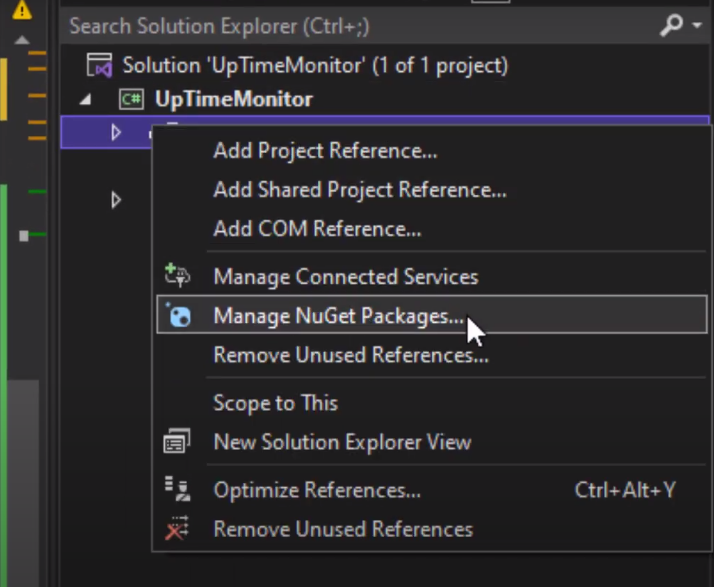
Go to dependencies and click on manage Nuget packages.
Go to browse and search for “mail kit.”
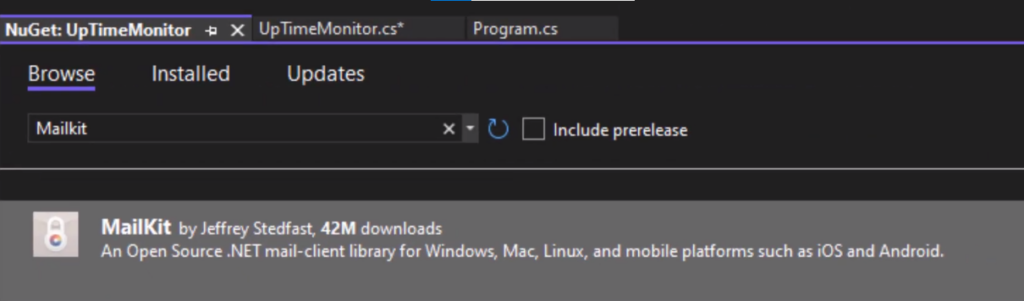
Install it.
Now go back to the class, you will see in the source code that I have already created the SendEmail() Method.
I have generalized it, so you can simply use this method in any application you want. You can just copy and paste it. (Given in Source Code Section of this Post)

You can simply change the from name, and the from email address, and add your own details, your own SMTP server, etc. And simply use it anywhere.
Moving on with the Tutorial now just get this method, Go down here, and call it.
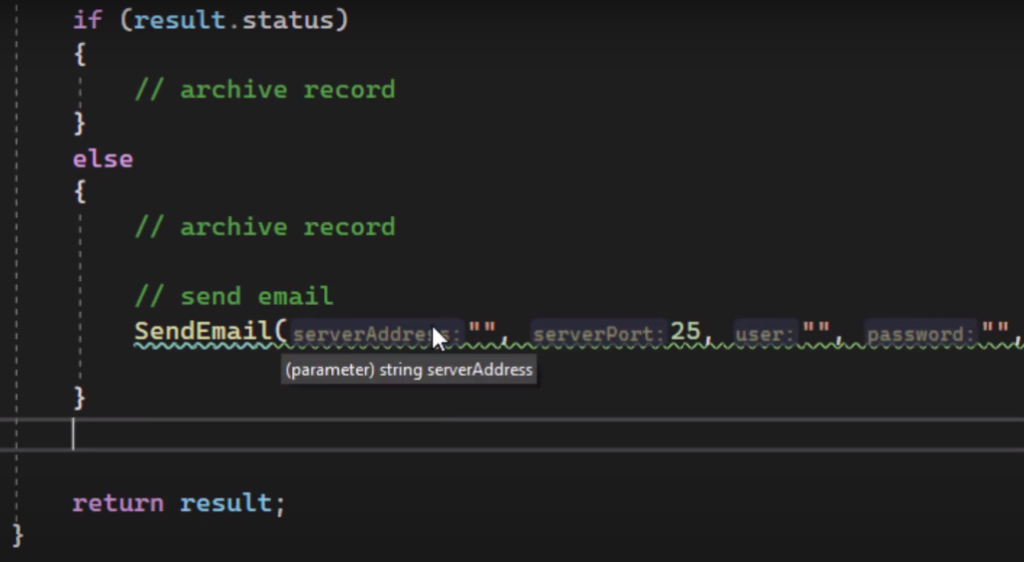
As you can see. You can pass the server address, port user password, etc. Also, add the website URL that you are testing.
That's all.
Now that we’ve implemented the send email function.
We now need to archive the records in a database.
So let's create our SQL server database.
I will open the SQL server and “create a new database.”
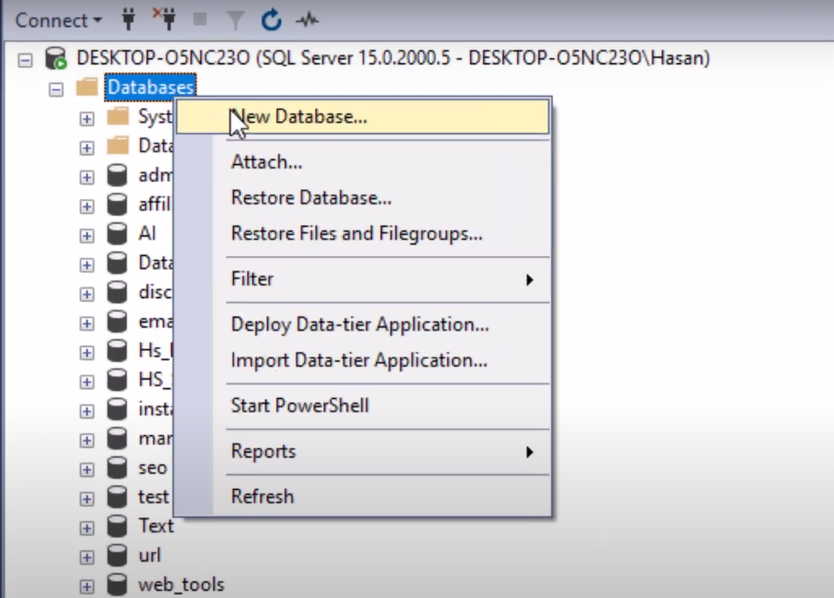
I will call it uptime.
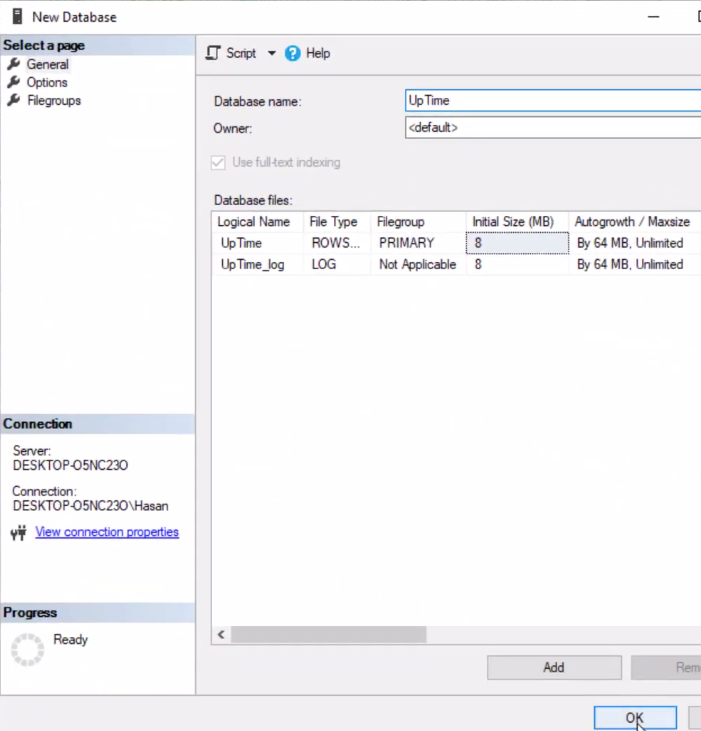
Click “ok.”
Now let’s create the relevant tables.
The first table is the uptime table which tracks all the records.
SQL Uptime Table
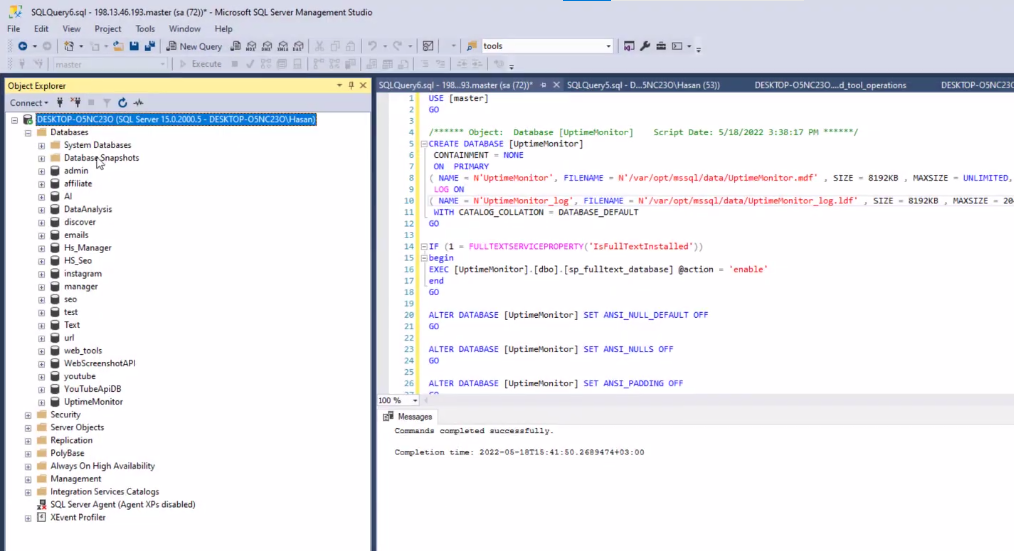
//start

CREATE TABLE [dbo].[uptime] (
	[scanid] [int] IDENTITY (1,1) NOT NULL,
	[websiteid] [int] NULL,
	[time] [datetime] NULL,
	[status] [bit] NULL,
	[responseTime] [int] NOT NULL,
CONSTRAINT [PK_records] PRIMARY KEY CLUSTERED
(
	[scanid] ASC
)WITH (PAD_INDEX = OFF, STATISTICS_NORECOMPUTE = OFF, IGNORE_DUP_KEY = OFF, ALLOW_ROW_LOCKS = ON, ALLOW_PAGE_LOCKS = ON, OPTIMIZE_FOR_SEQUENTIAL_KEY = OFF) ON
[PRIMARY]
) ON [PRIMARY]
GO


//end
Execute(Type all above in the Queries section and press the Green Play button in the Top Toolbar)
We have the scan id or the request-id.
We have website id, time, status, and response time. And you have the primary key which is the scan id.
Now, we have the uptime table.
Let's now create the website table.
Websites Table
//start

CREATE TABLE [dbo] . [websites] (
	[websiteid] [int] IDENTITY (1,1) NOT NULL,
	[name] [varchar] (255) NULL,
	[url] [varchar] (255) NULL,
PRIMARY KEY CLUSTERED
(
	[websiteid] ASC
)WITH (PAD_INDEX = OFF, STATISTICS_NORECOMPUTE = OFF, IGNORE_DUP_KEY = OFF, ALLOW_ROW_LOCKS = ON, ALLOW_PAGE_LOCKS = ON, OPTIMIZE_FOR_SEQUENTIAL_KEY = OFF) ON
[PRIMARY]
) ON [PRIMARY]
GO


//end
We have a website id, the name, and the URL of the website.
Hit execute (The Green Play button on the Top Toolbar.)
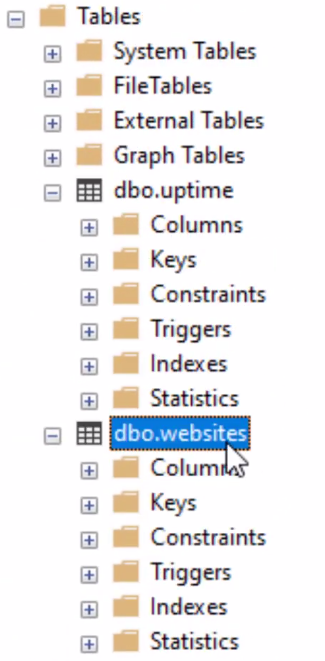
As you can see, now we have two tables the uptime table and the websites table.
I will open this website Table like this.
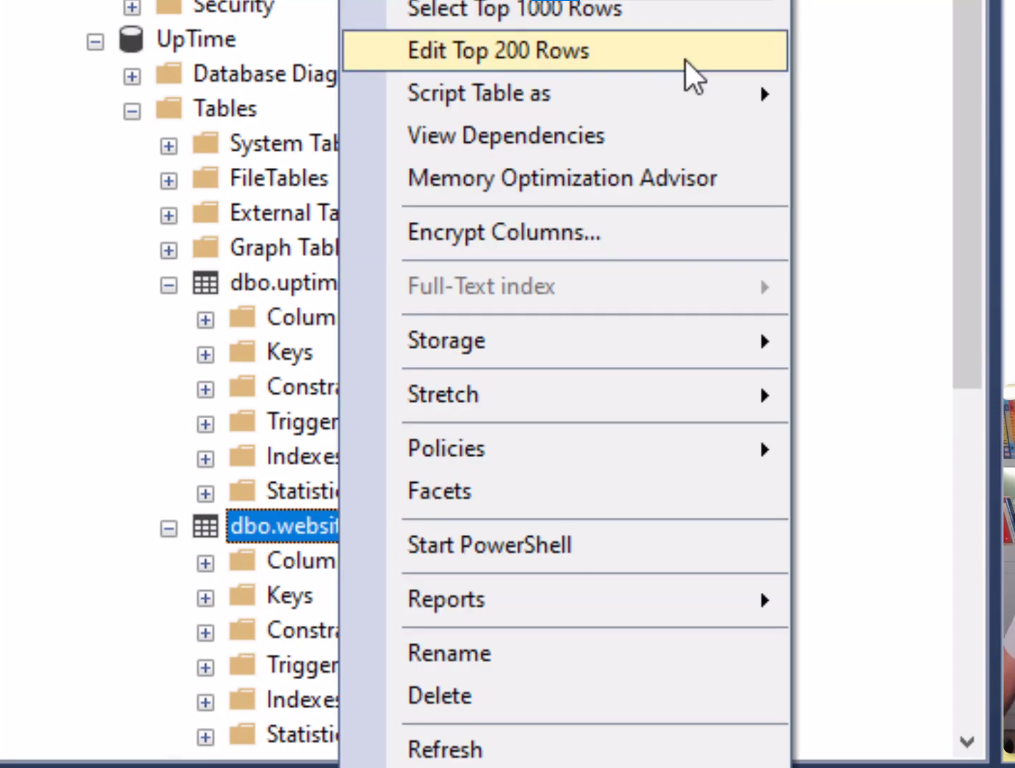
And I will add my website.
Let's say (learn with Hasan) and let's get the URL and paste it here.

Now we have the first URL.
We are ready to implement the database inside our project.
I will be using Entity Framework. So, go to the dependencies again, and click on manage Nuget packages.

Search for Entity Framework, and install it.

Then install the SQL server provider for EF, just a few options down in the list.

Now install Entity framework tools.

The Tools above will help us. so we can migrate or add our SQL server database inside our application and turn them into Entity framework classes.
Go to Terminal.
To add our databases, simply paste this one line of code.
//start

dotnet ef dbcontext scaffold “Data Source=.;Initial Catalog=uptime;Integrated Security=True” Microsoft.EntityFrameworkCore.SqlServer

//end
Add the data connection or connection string, and the uptime database name.
Simply Press “enter.”
You can see now.
We have the uptime DB context. We have the uptime class and we have the website class.

Now I will create a method to archive this data.
I will call it “recordtoDB” and pass the response object as a parameter.
Let's implement it. (The code is in the Source Code Section)
This is the method:
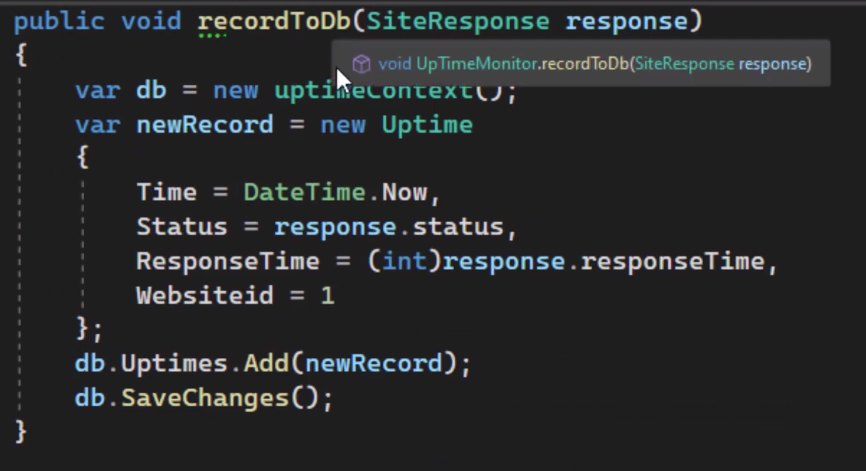
Create a new object of the uptime context or db context. Call it “db.”
Add new records and simply add database and save changes.
Now our application is almost done.
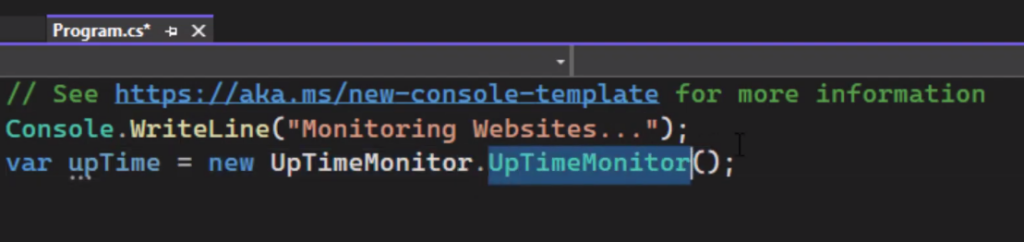
I will go back to the program.
Create a new object for the uptime monitor class.
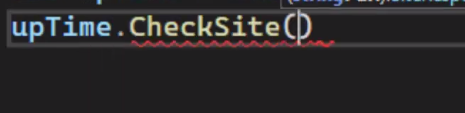
Now fire the method that checks a website.
Like check the site and add the URL.
But we want to read this from the database.
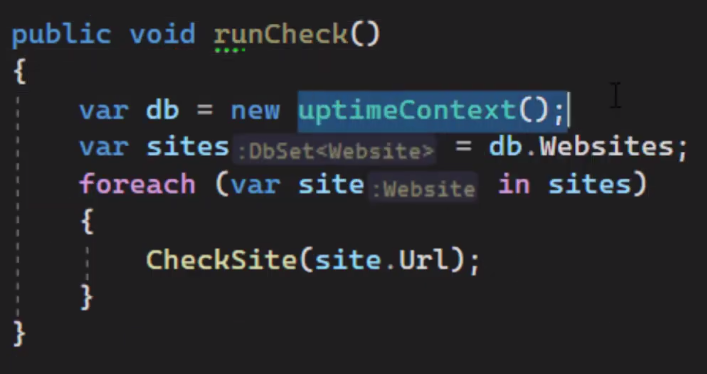
So what I'm going to do is go back to the class and here I will implement a simple method that loops over the records in the database, gets the websites, and tracks them automatically.
Here is the code:
So, now I will go back here instead of “checkSite.”
Use runCheck().
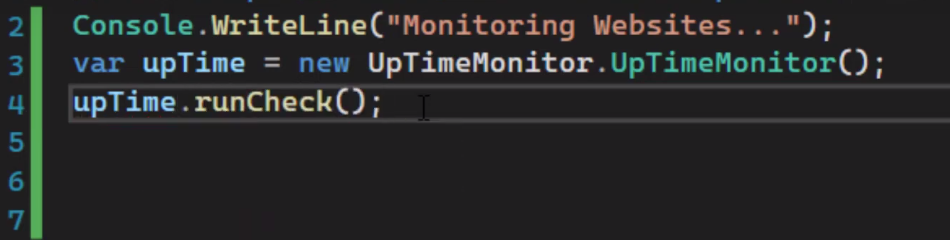
That's it
I will test it right now (Press Green Execute Button on Top Toolbar in Visual Studio)
Let's see if it works.

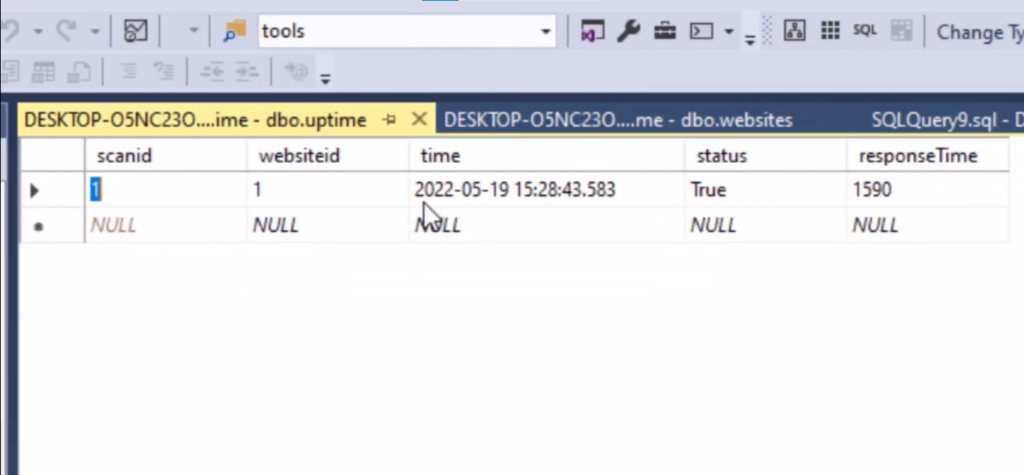
Let's open the database to see uptime.
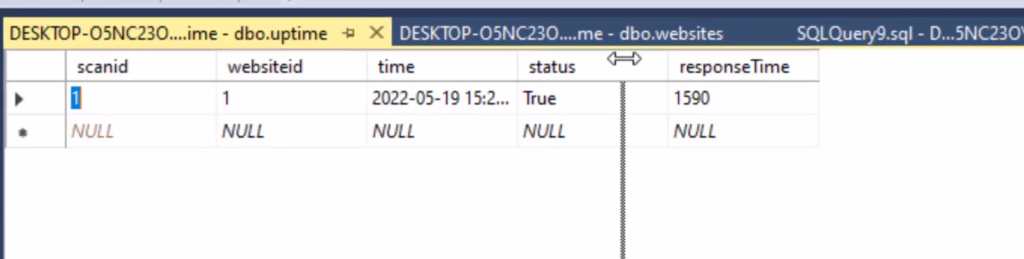
Excellent!!! Our website is online.
The status = true.
And it took 1590 milliseconds as the response time.
You can run this automatically using scheduled tasks in windows.
Or maybe host it on a VPS Linux server so it can run automatically and checks multiple websites.
If you want to learn how to host this script on a VPS server for free. You can check out this Blog Post.
Website uptime Monitor with C# (Source Code)
You can check out the project on Github.
But here are the Functions I mentioned in the Blog Post.
Check Site
//start

 public SiteResponse CheckSite(string? url)
        {
            var result = new SiteResponse();

            var stopwatch = new Stopwatch();
            stopwatch.Start();
            var client = new HttpClient();


            try
            {
                var checkingResponse = client.GetAsync(url).Result;

                result.status = checkingResponse.IsSuccessStatusCode &&
                                checkingResponse.StatusCode == HttpStatusCode.OK;

            }
            catch
            {
                result.status = false;
                // offline
            }


            stopwatch.Stop();
            var elapsed = stopwatch.ElapsedMilliseconds;
            result.responseTime = elapsed;


            if (result.status)
            {
                // archive record
                recordToDb(result);
            }
            else
            {
                // archive record
                recordToDb(result);


                // send email
                SendEmail();

            }


            return result;
        }

//end
Send Email
//start

public void SendEmail()
        {
            //Implement Your Own Method
        }

        public async Task<string> SendEmail(string serverAddress,int serverPort, string user,string password,bool isSecure,
            string toAddress,string websiteURL)
        {
            try
            {
                var message = new MimeMessage();
                message.From.Add(new MailboxAddress("FromName", "FromAddress@Email.com")); //Change!!
                message.To.Add(new MailboxAddress("", toAddress));
                message.Subject = "Website is Down!";
                message.ReplyTo.Add(new MailboxAddress("FromName", "ReplyTo"));  //Change!!

                //Change!!
                var builder = new BodyBuilder
                {
                    TextBody = websiteURL + " is Down!",
                    HtmlBody = "<p>" + websiteURL + " is Down!</p>"
                };

                message.Body = builder.ToMessageBody();

                using var client = new SmtpClient();
                await client.ConnectAsync(serverAddress, serverPort, isSecure);
                client.AuthenticationMechanisms.Remove("XOAUTH2");
                await client.AuthenticateAsync(user, password);
                await client.SendAsync(message);
                await client.DisconnectAsync(true);
            }
            catch (Exception e)
            {
                return e.Message;
            }


            return "OK";
        }

//end
Record to DB
//start

 public void recordToDb(SiteResponse response)
        {
            var db = new UptimeMonitorContext();
            var newRecord = new Uptime
            {
                Time = DateTime.Now,
                Status = response.status,
                ResponseTime = (int)response.responseTime,
                Websiteid = 1
            };
            db.Uptimes.Add(newRecord);
            db.SaveChanges();
        }

//end
Run Check
//start

 public void runCheck()
        {
            var db = new UptimeMonitorContext();
            var sites = db.Websites;
            foreach (var site in sites)
            {
                CheckSite(site.Url);
            }

        }

//end
Conclusion
I hope today’s tutorial about building a Website uptime Monitor with C# was helpful, and you learned something new. Projects like these help you build real projects and understand the Importance of programming in real-world scenarios.
Keep sharing and Supporting, so we can bring more helpful Tutorials like these.
Don’t forget to check out more Interesting and easy tutorials on our Website!
If you have any questions, you can post them in the comments section below.
Take care and Happy Coding!